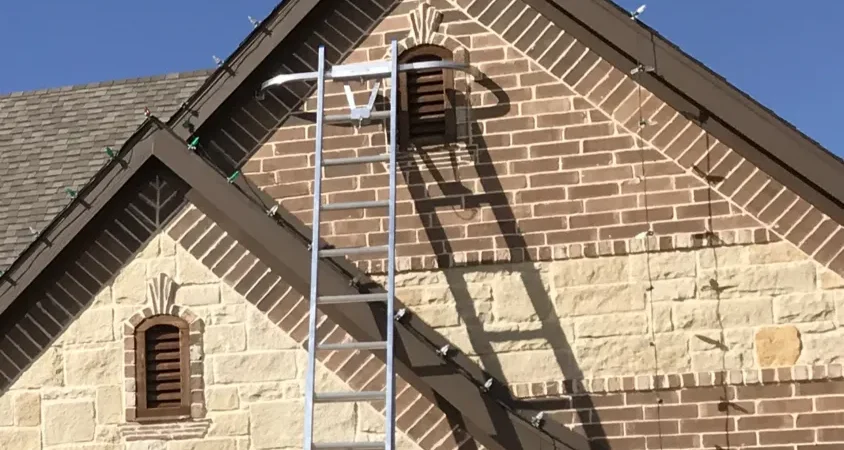
Store-bought strands rarely fit a roofline. Pros use socket wire cut to the exact length of each run. Here is the method our crews use on every house.
Short answer: Measure each run, cut socket wire to fit, clip it to the gutter or shingles, add a male connector at the outlet end and an end cap at the other, test it, then screw in the bulbs.
What do I need?
- SPT-1 socket wire at your spacing (12 inch is most common)
- C9 LED bulbs, one per socket at 12 inch spacing
- Clips, one per socket
- Male and female connectors (about 7 male and 10 female on a typical job), or One Plugs
- End caps, one per run
- Extension wire from the outlet to the first socket
- A timer and a ladder you trust
Want it all in one box? A Christmas light kit includes 1,000 ft of 12-inch socket wire, 1,000 warm white bulbs, clips, plugs, extension wire and a timer.
Step 1: Measure and plan the runs
Measure each section and decide where the power comes from. Keep runs under about 300 feet and under about 790 LED bulbs each. See how to measure a roofline.
Step 2: Cut the socket wire to fit
Cut each run a few inches long. Cut so a socket lands right at each peak and corner.
Step 3: Clip it up
Clip every socket to the gutter or shingle so the bulbs point the same way. Our clip guide covers gutters, shingles, ridges and metal roofs.
Step 4: Add connectors and end caps
Put a male connector on the end that feeds from the outlet, join runs with female connectors, and seal the far end with an end cap. Keep connections off the ground and in the dry.
Step 5: Test, then add the bulbs
Plug in and check one bulb in each section before you fill the rest. Screwing bulbs in last saves breaks on the ladder.
Step 6: Put it on a timer
A timer turns the display on at dusk and off at bedtime, every night, without the homeowner touching it.
Would you rather hire it out?
Find Christmas light installers near you on ChristmasPlug.

Author: ChristmasPlug Team
The ChristmasPlug team: Christmas light installers with nine years in the trade.