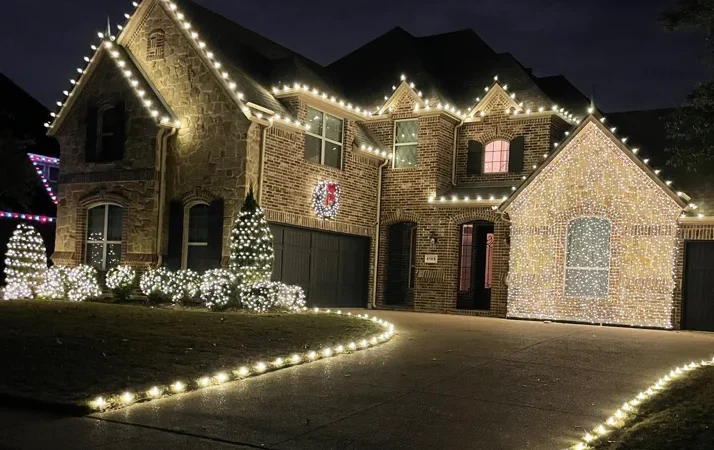
Everything you need for your first season, in one order. Pick your kit:
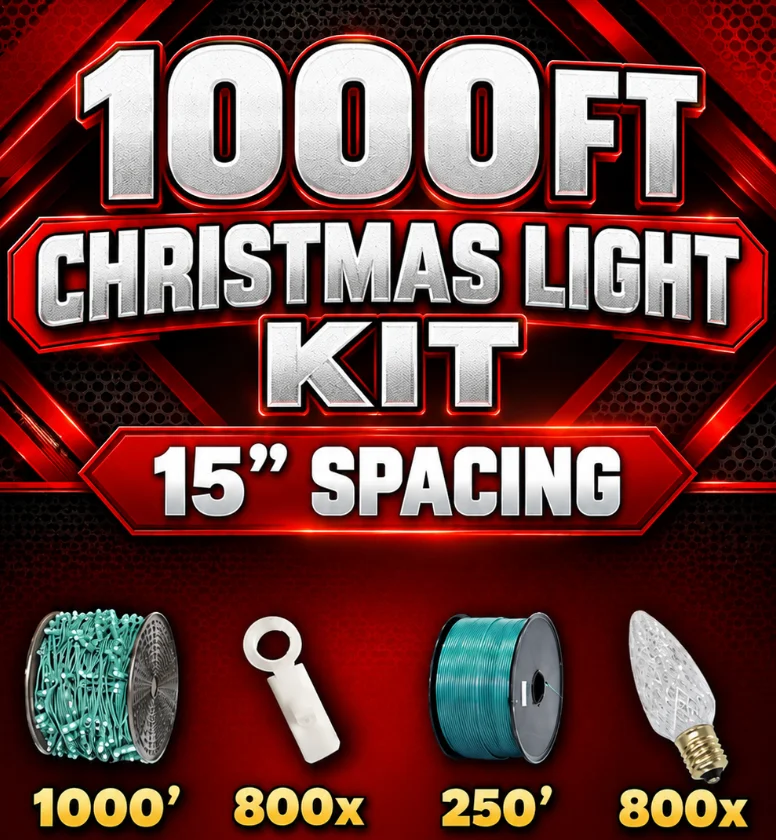
1,000 ft Kit, 15-inch spacing
800 bulbs, 800 clips, 50 + 50 plugs, 250 ft zip cord, timer. Covers about 5 to 10 homes.
$1,799 + free shipping

1,000 ft Kit, 12-inch spacing
1,000 bulbs, 1,000 clips, 50 + 50 plugs, 250 ft zip cord, timer. Fuller look.
$1,899 + free shipping
Testing a few jobs first? 500 ft kits start at $1,099.
In this guide:
- Socket wire
- LED bulbs
- Clips
- Male plugs
- Female plugs
- Zip cord
- Timer
- Add-ons to keep on the truck
- Bulb upgrades
- Book the jobs
1. C9 socket wire (1,000 ft)
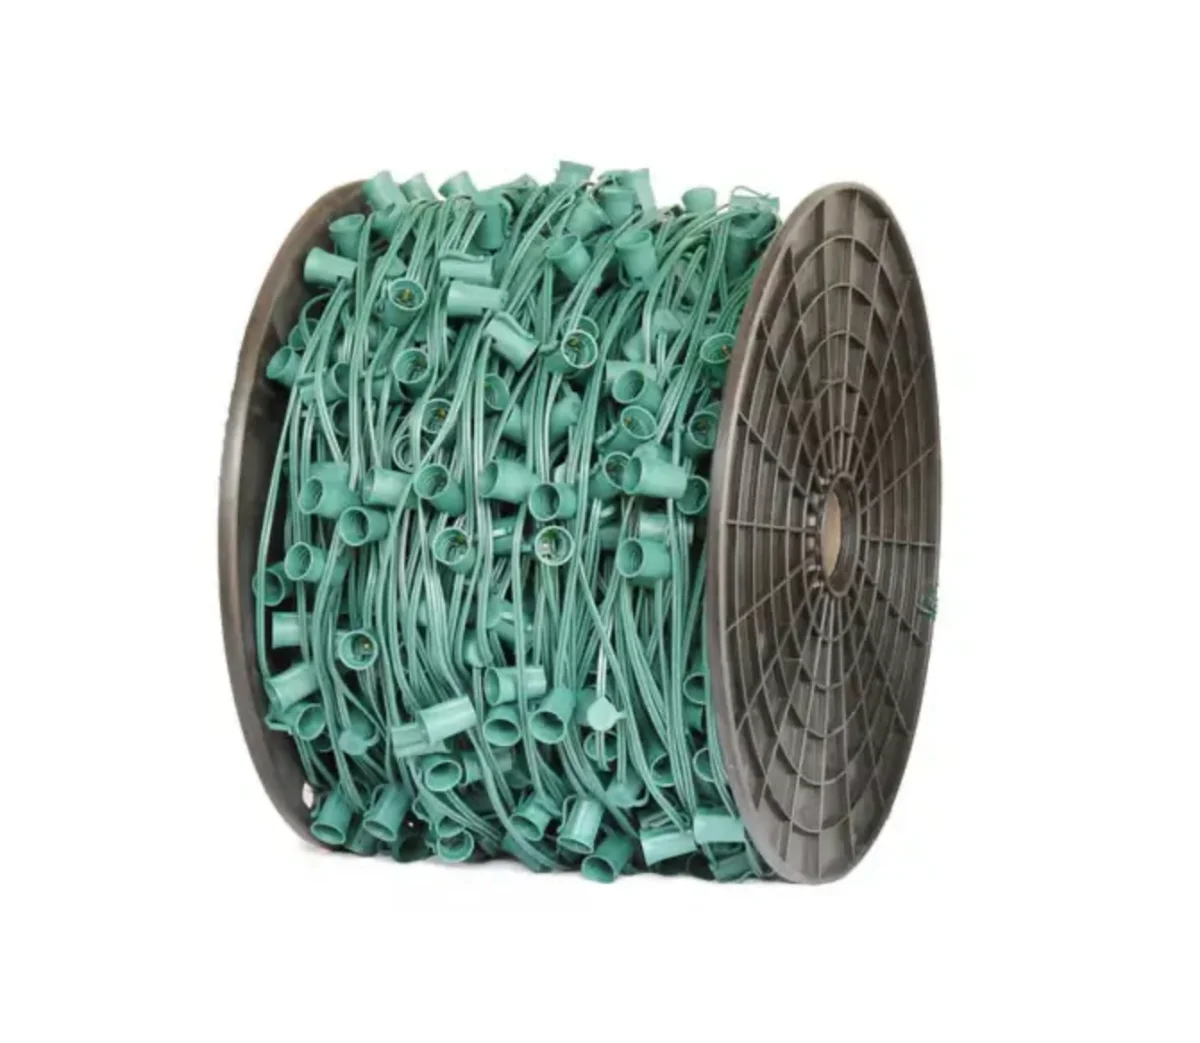
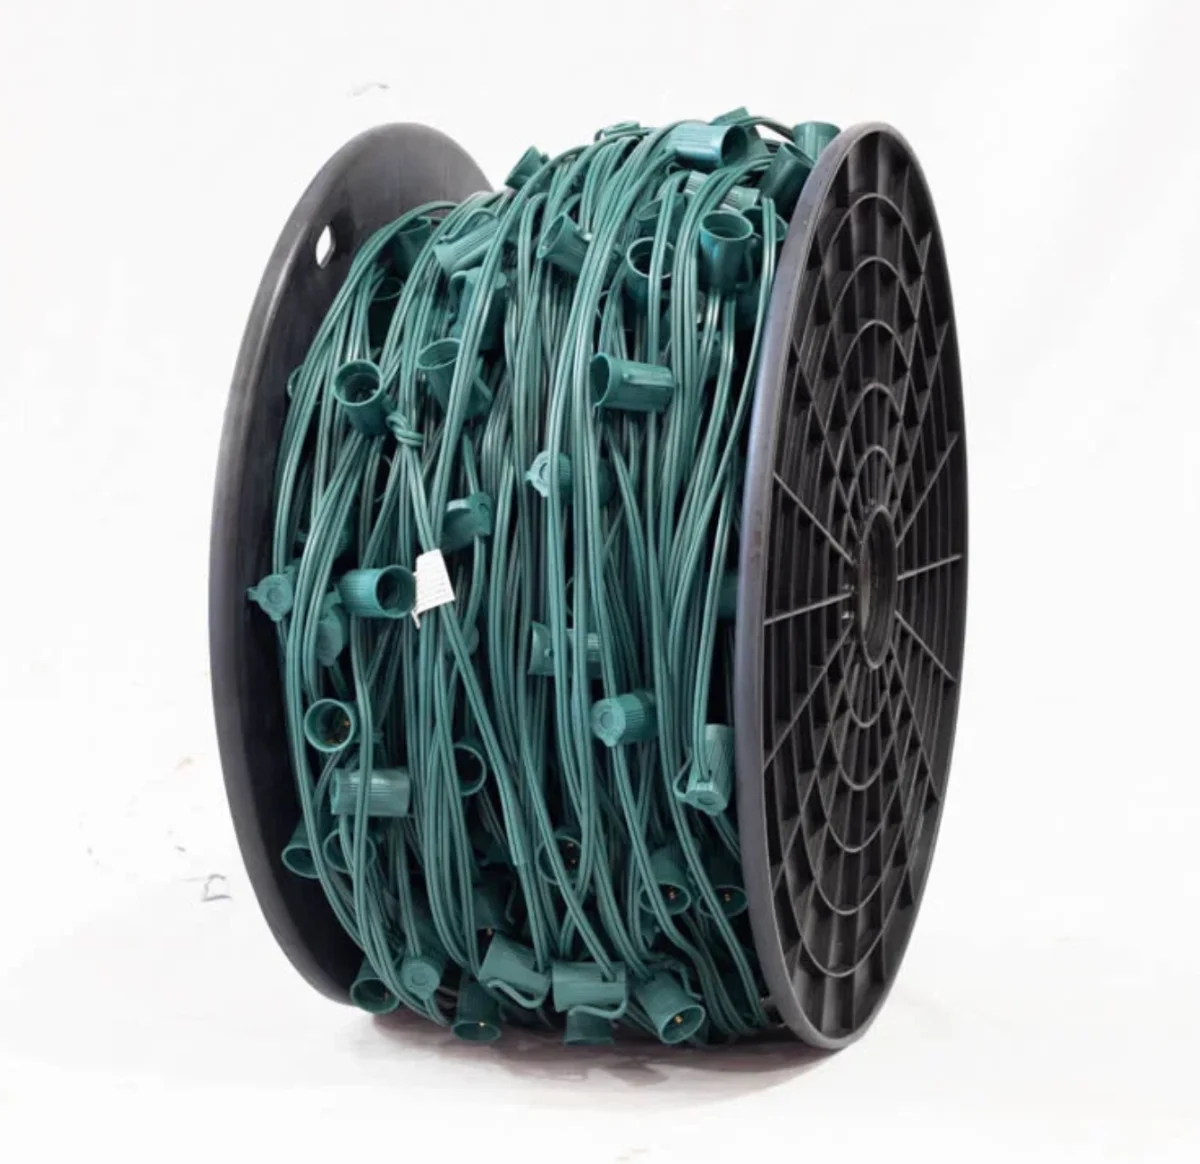
Why it’s in the kit: One spool you cut to fit every roofline. No fixed strands, no waste.
How pros use it:
- Bulb and clip the wire at the shop, not on the roof.
- Lay the finished wire loosely into large bins. Don’t coil it tight.
- On site, run it along the eave and cut between sockets at the end of each roof edge.
- Label each run (“front gutter,” “garage”) so next year’s reinstall is plug-and-hang.
Deep dive: C9 socket wire buying guide.
2. Warm white Elite C9 LED bulbs
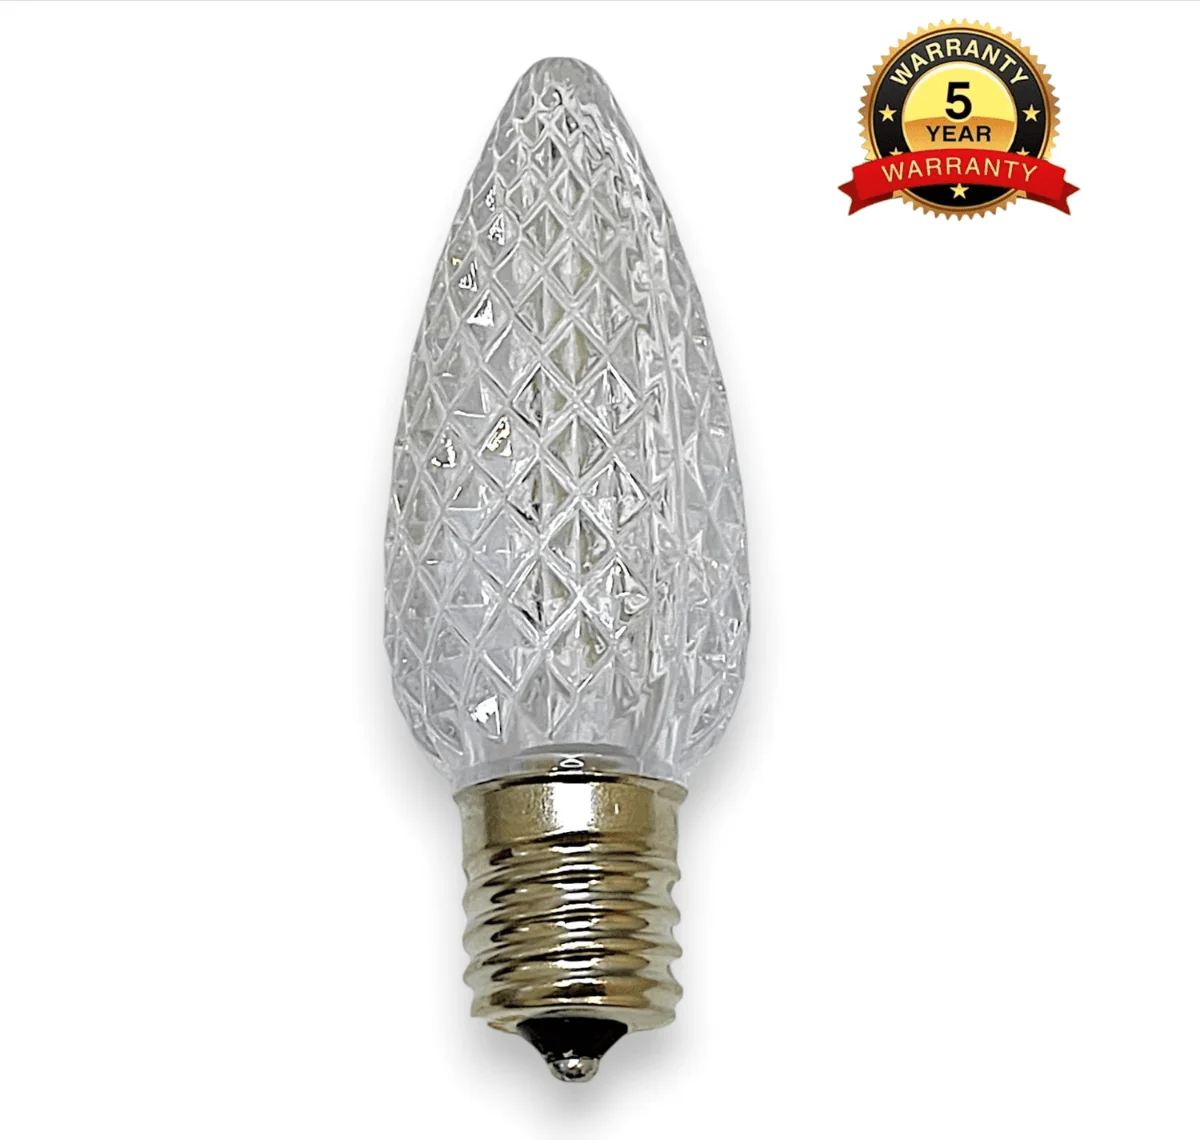
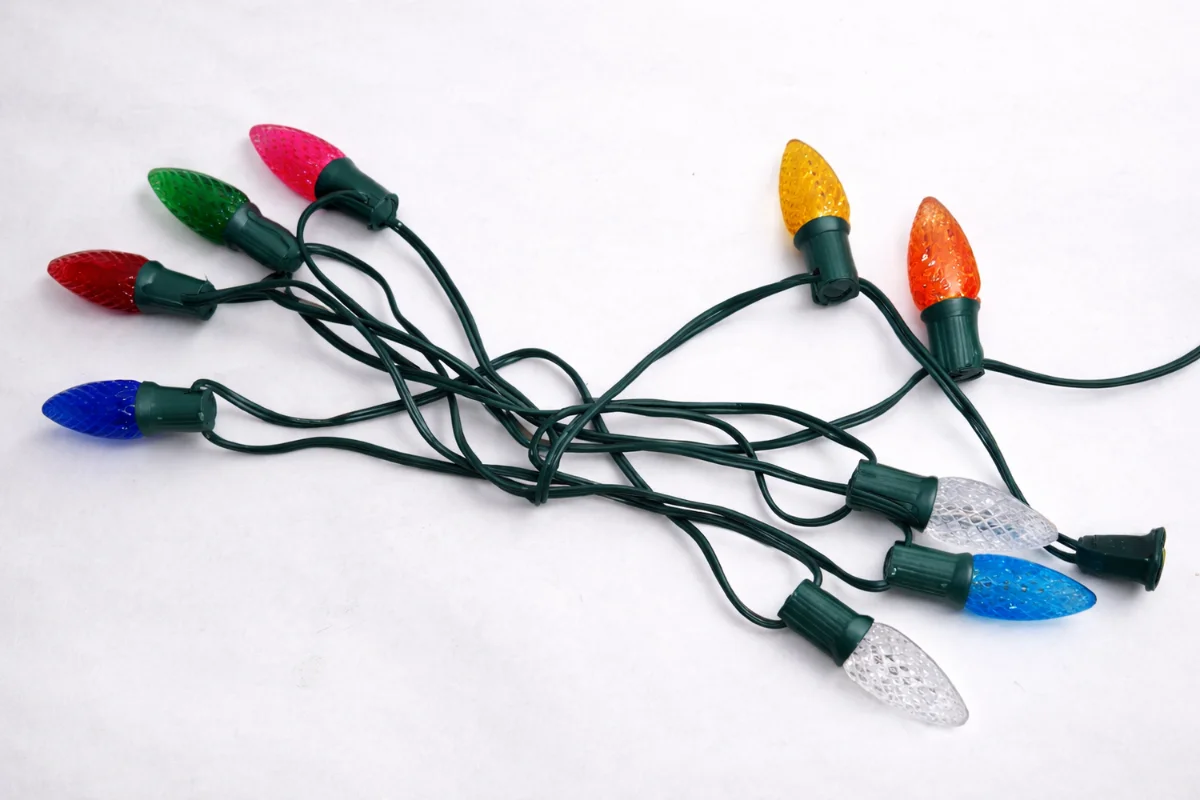
Why it’s in the kit: Shatterproof polycarbonate. Every bulb that survives takedown is margin you keep next season.
How pros use it:
- Screw bulbs in snug at the shop while you clip.
- Test the whole run before it leaves the shop.
- At takedown, leave the bulbs in the sockets. Swap only the dead ones.
- Keep a bag of spares on the truck for install-day swaps.
Why cheap bulbs cost you: polycarbonate vs polystyrene.
3. C9 clips (one per bulb)
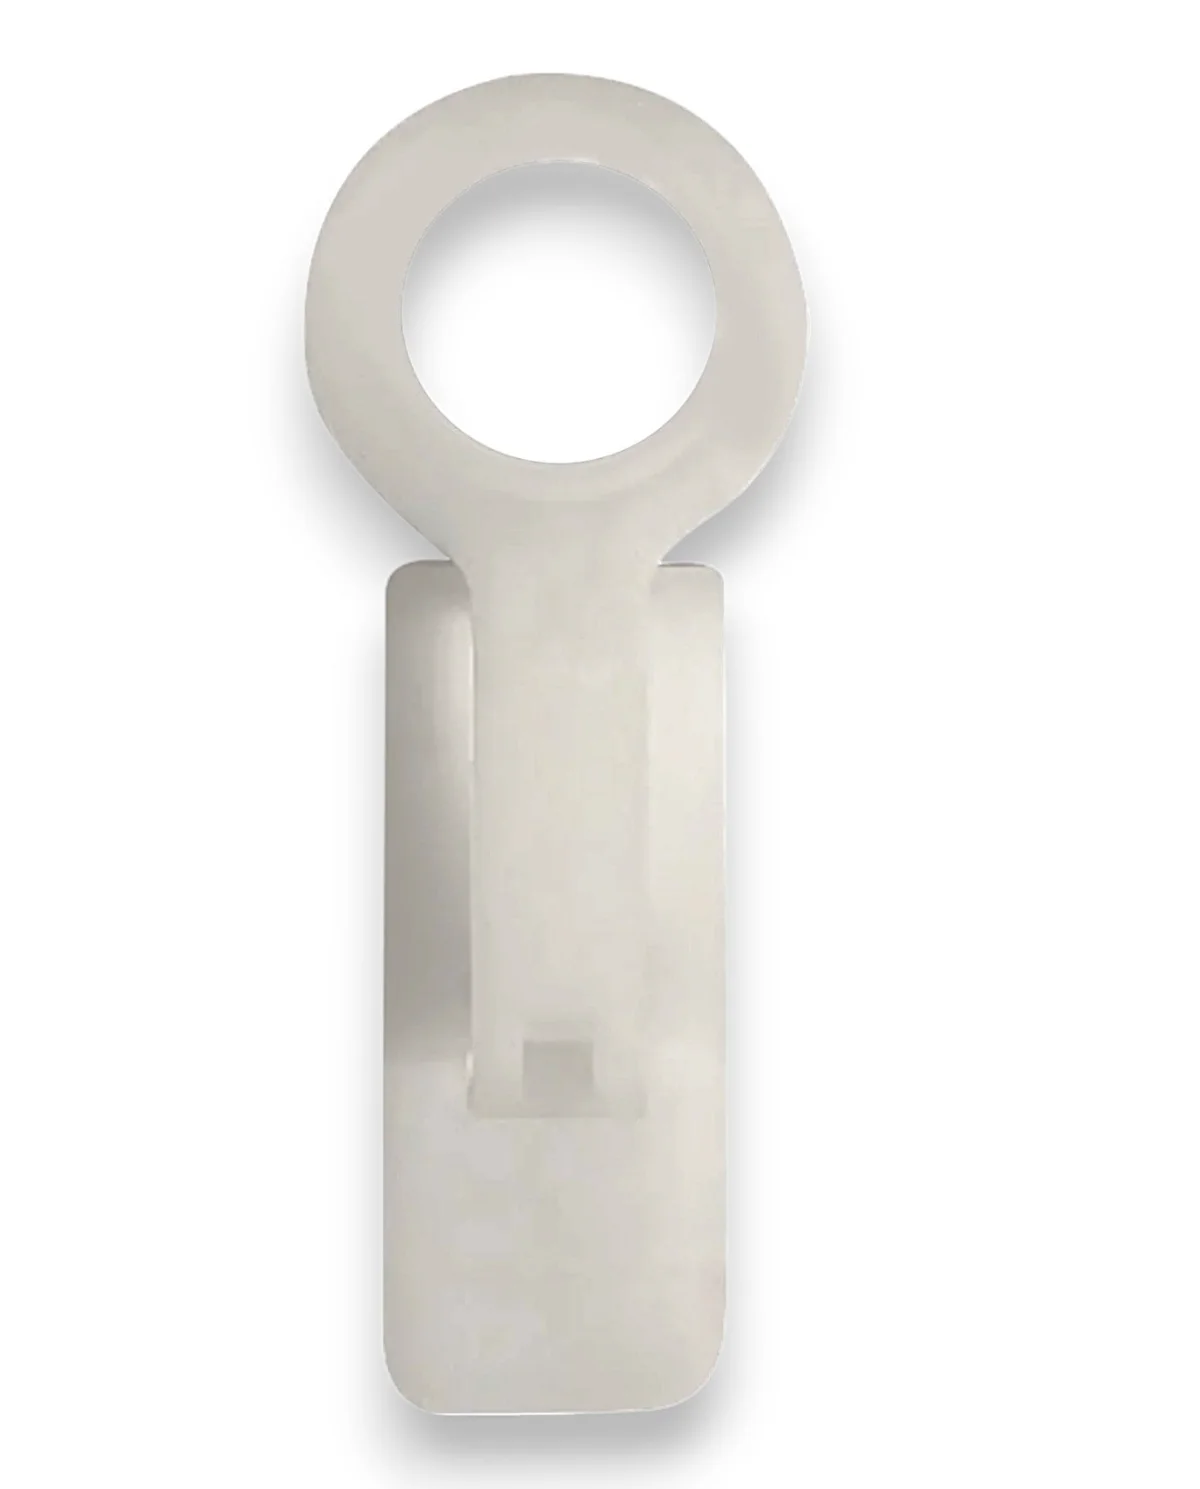
Why it’s in the kit: Exactly one clip per socket, so you never come up short on the roof.
How pros use it:
- Snap each socket into a clip at the shop while bulbing.
- On gutters, push the clip onto the gutter lip.
- On shingles, slide the clip under the shingle edge.
- Bulbs should stand straight up and evenly spaced from the street.
Every surface covered: Christmas light clips guide.
4. Male plugs (50)
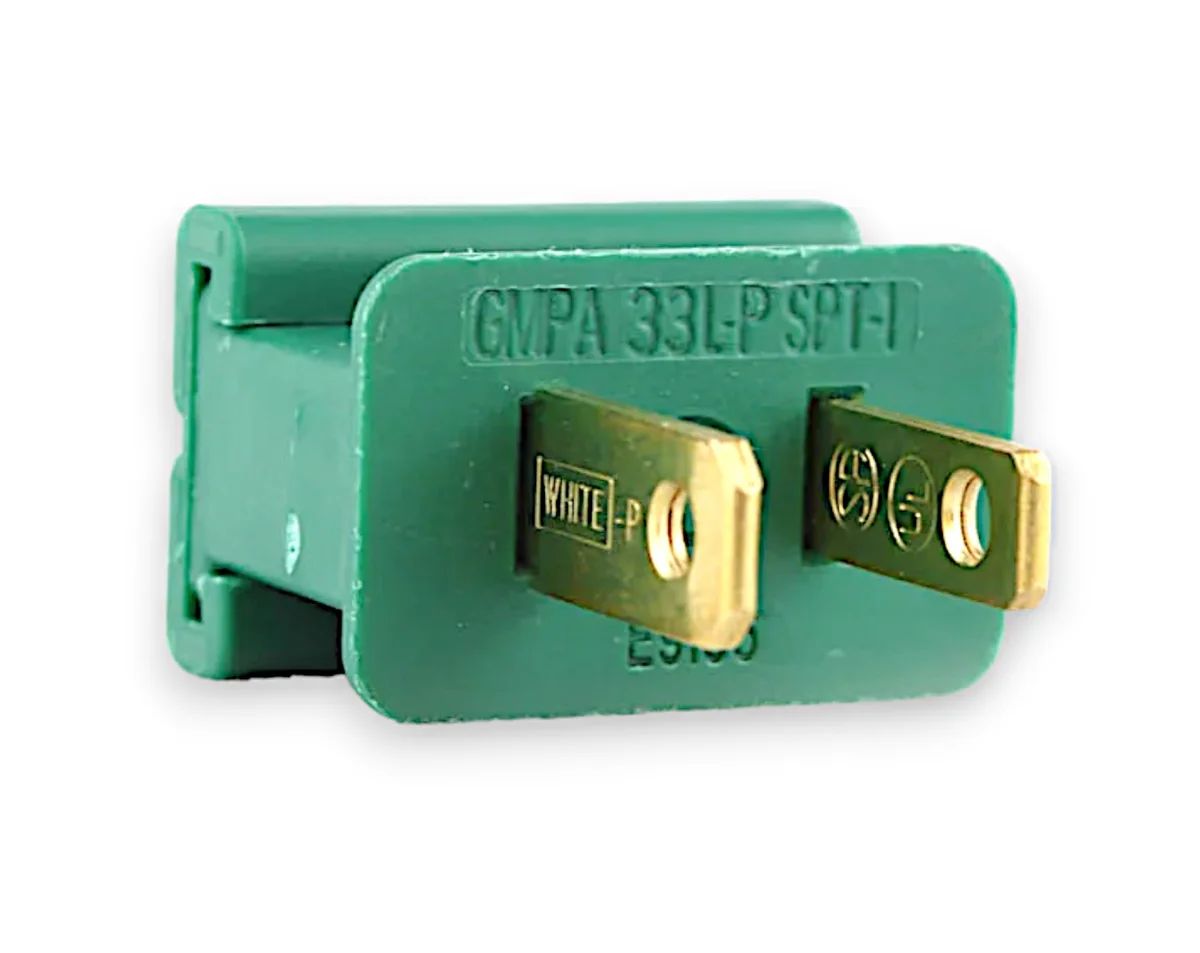
Why it’s in the kit: A typical home uses about 7. Fifty covers your first several jobs.
How pros use it:
- Lay the cut wire into the plug, pushed to the end.
- Match the ribbed side of the wire to the wide blade side.
- Squeeze it shut until it clicks. No stripping.
- Plug in and test before you leave the ladder.
5. Female plugs (50)

Why it’s in the kit: A typical home uses about 10. They connect runs, leads and jumpers.
How pros use it:
- Install it the same way as the male plug.
- Put one on the end of every lead so a light run can plug in.
- Use the knockout tab to run it inline or at the end of a run.
6. Green zip cord (250 ft)
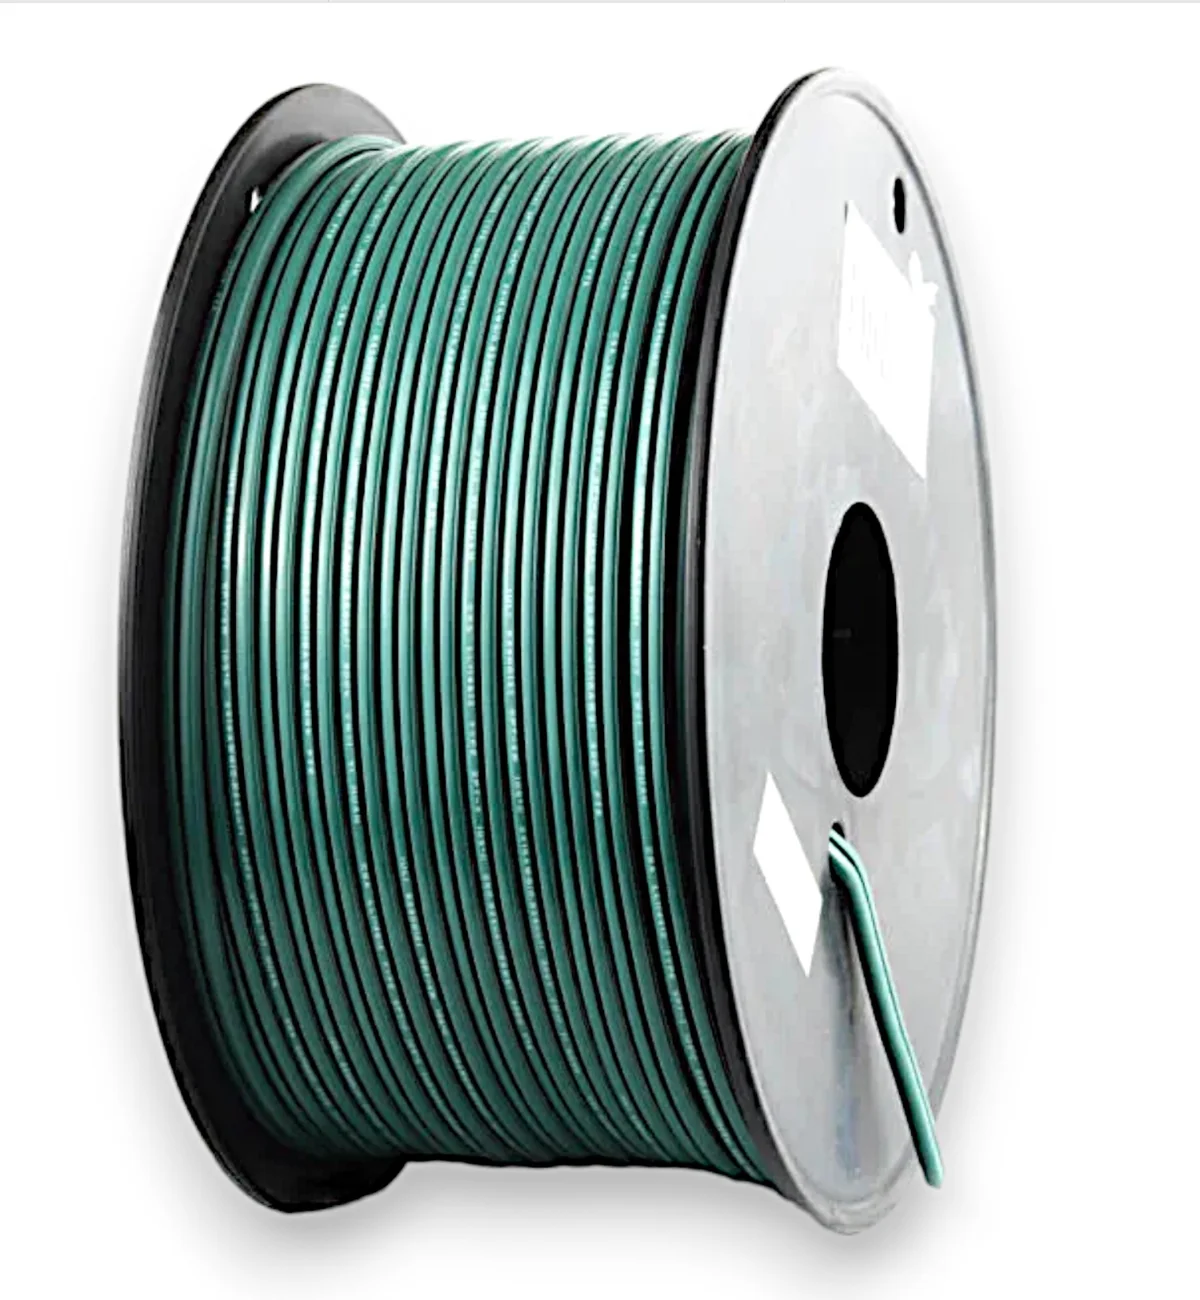
Why it’s in the kit: Make leads and jumpers to the exact length. Cleaner than extension cords and cheaper.
How pros use it:
- Measure from the start of the run to the outlet or timer.
- Cut, then add a male plug on one end and a female on the other.
- Run leads down downspouts or trim so they disappear.
- Write the length on a tape flag so you can reuse it next year.
Stop callbacks from tripped outlets: how to seal Christmas lights.
7. Photocell outdoor timer
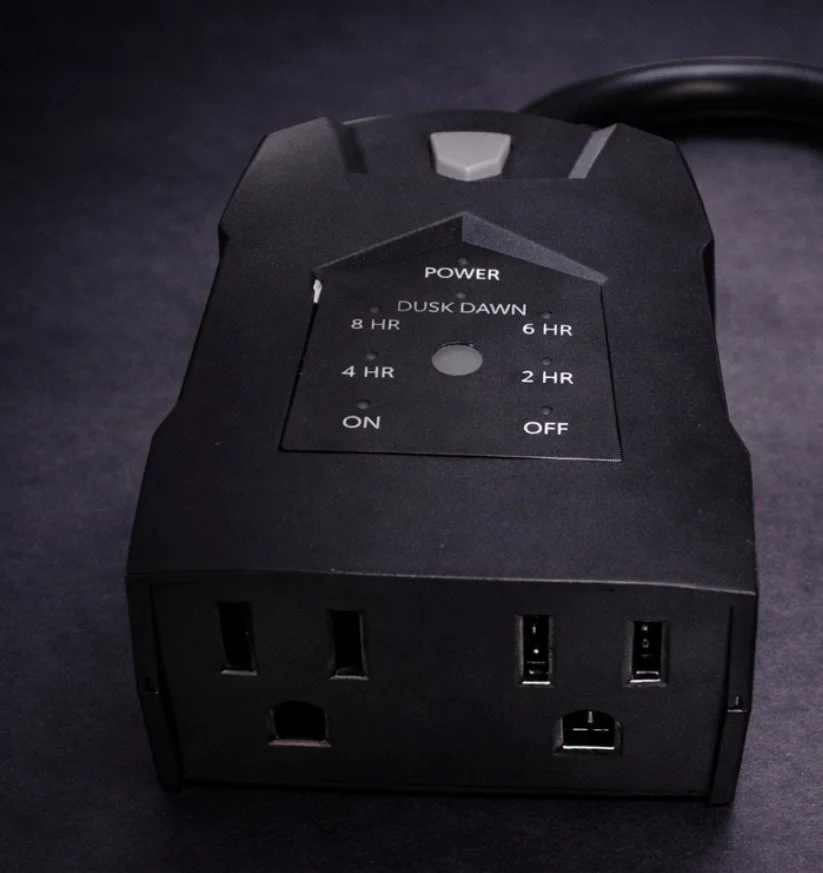
Why it’s in the kit: Dusk-on automation means no “why are my lights off?” calls. One is included; plan on one per job as you book more homes.
How pros use it:
- Plug the timer into the customer’s outdoor GFCI outlet.
- Plug your lead into the timer.
- Set the on-time to dusk and the number of hours the customer wants.
- Show the customer where it is before you leave.
Load each outlet safely: lights per outlet.
8. Add-ons to keep on the truck
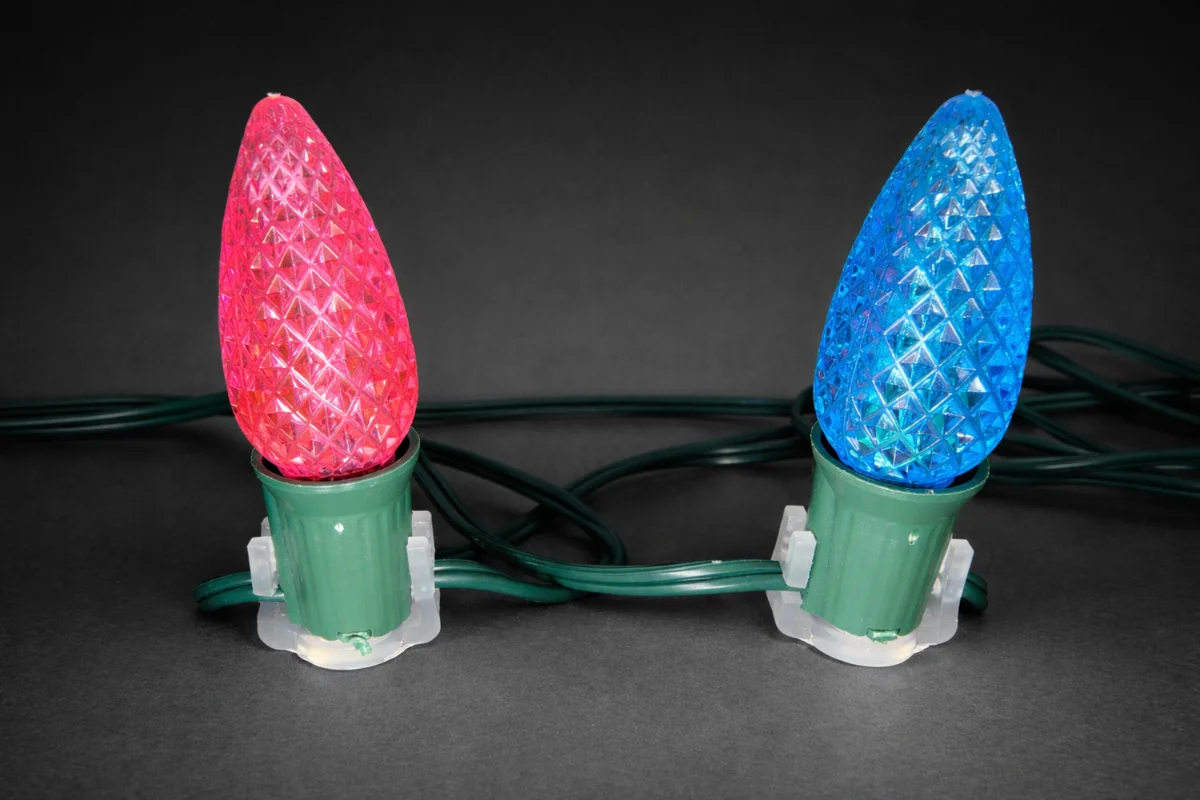
Magnetic C9 clips
For metal roofs, steel gutters and trim. Snap the socket in and set it on the metal.
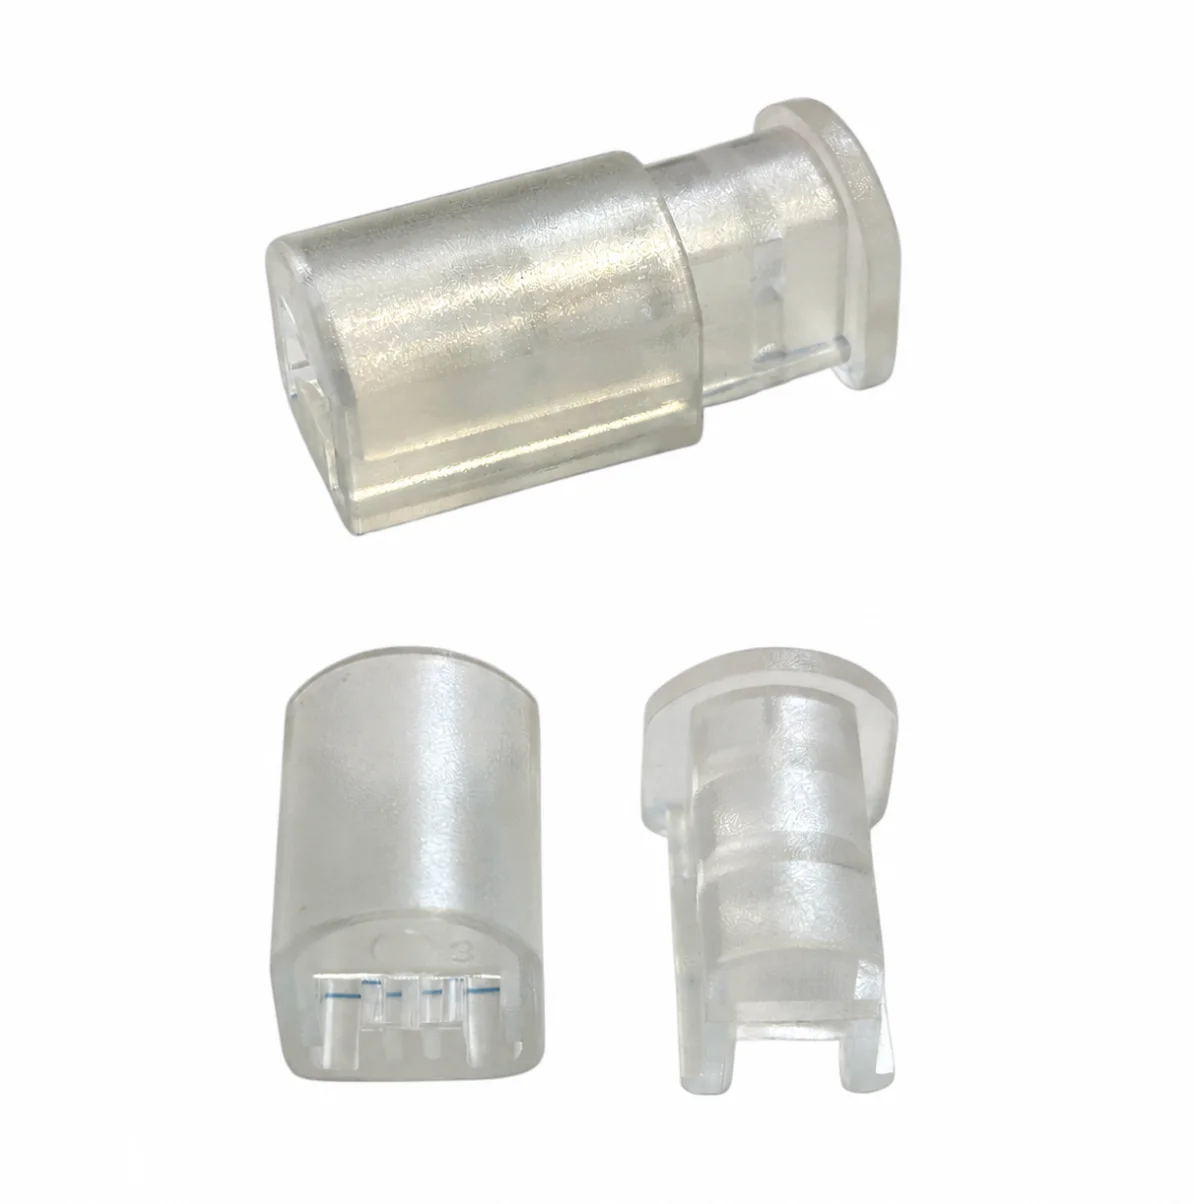
Full gear list: installer tool kit by stage.
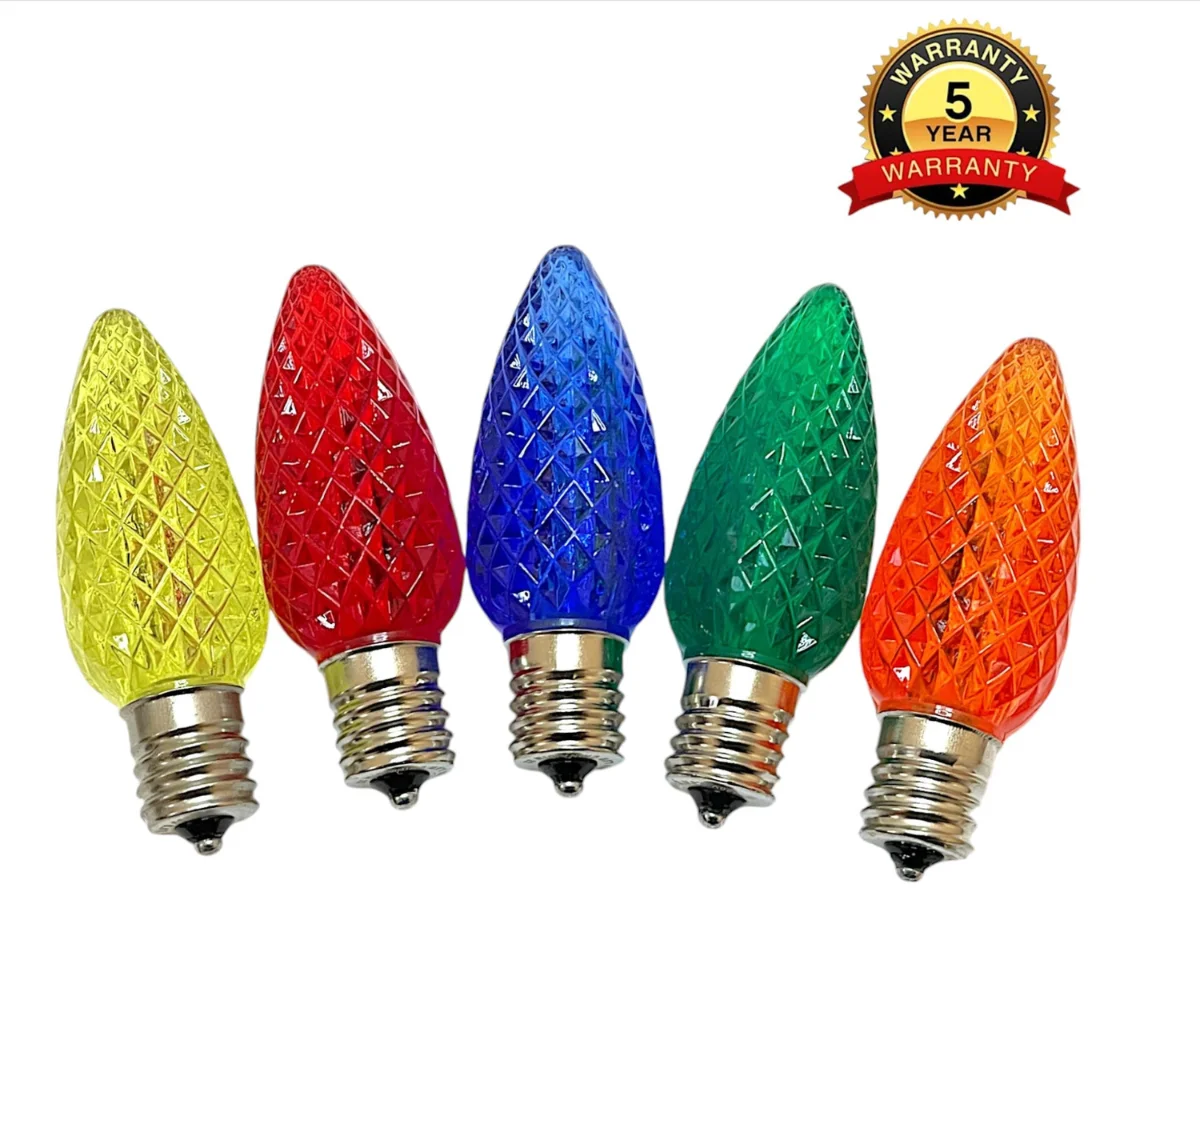
9. Bulb upgrades for customer requests

10. Book the jobs
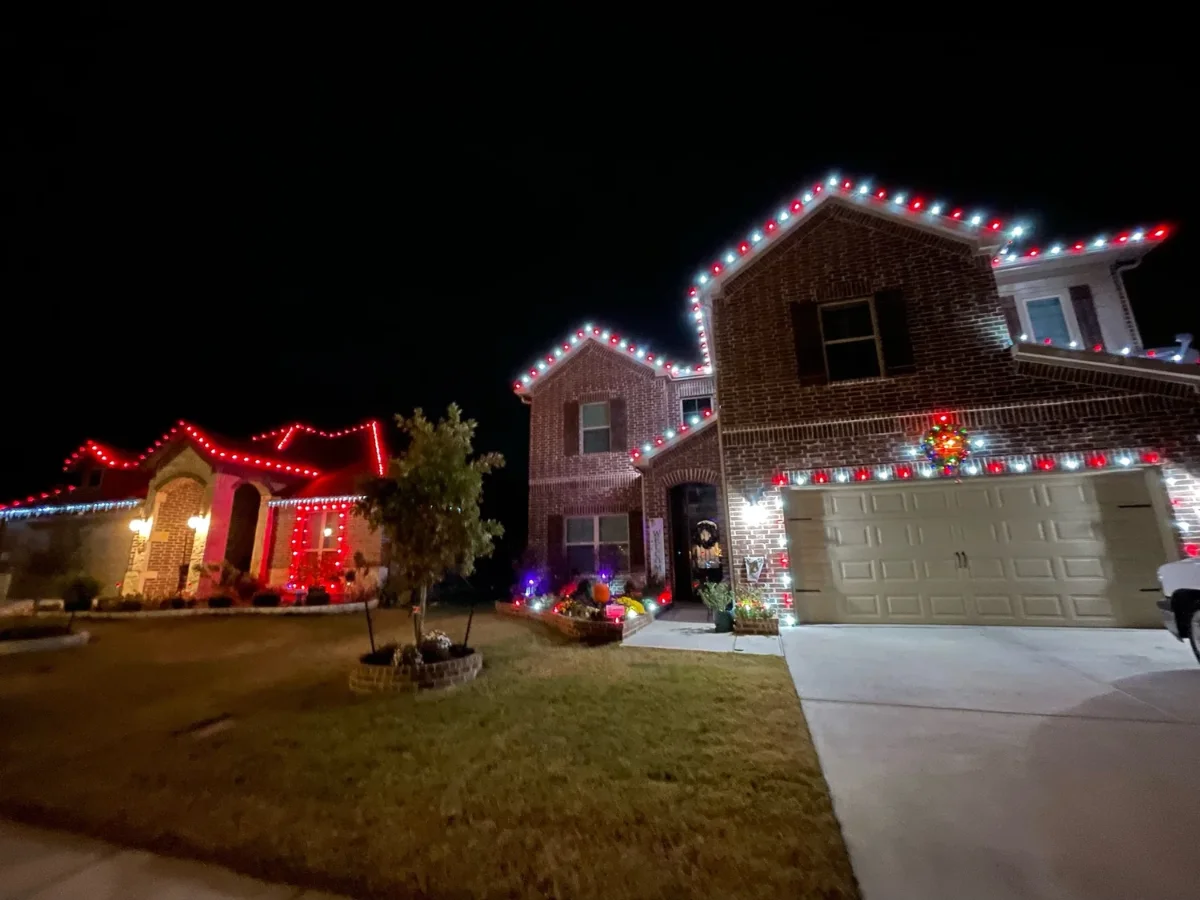
- Quote fast: mock up the house in the Christmas Light Estimator or the full design and estimating software.
- Price it right: how to bid Christmas light installation.
- Get found: list your company for unlimited free leads.
- Raise every ticket: 6 upsells that work.
Want to see the parts first? Christmas light contractors anywhere in the USA can call the A-Team at (919) 651-3062 about a free sample kit, and join the free ChristmasPlug Skool group for training.
Shop the 1,000 ft contractor kit
Every part, photographed: what’s in a Christmas light kit.
Quick answers
What do I need to start a Christmas light installation business?
Commercial C9 socket wire, LED bulbs, clips, SPT-1 plugs, zip cord for leads and timers, plus a ladder, basic tools, liability insurance and a way to quote jobs. A contractor starter kit covers the lighting materials in one order.
How many homes will a 1,000 ft Christmas light kit cover?
Roughly 5 to 10 average rooflines, depending on the size of the homes you book. Measure every job and track your footage so you know when to reorder.
Should a new installer buy 12-inch or 15-inch spacing?
12-inch spacing gives the fuller, one-bulb-per-foot look many residential customers expect. 15-inch spacing uses about 20% fewer bulbs per foot, which lowers your material cost per job and stretches your inventory.
How much should I charge to install Christmas lights?
Installers commonly charge about $4 to $12 per foot depending on the market, roof height and pitch, with most residential jobs landing around $1,000 to $2,000. Set a job minimum so small houses are still worth the trip.
Can I reuse the lights next season?
Yes. Most installers lease the lights: install in the fall, take them down after the holidays, store them, and reinstall them next year. That is why the second season is mostly labor and profit.
Can I see the parts before I buy a kit?
Yes. Christmas light contractors can call the A-Team at (919) 651-3062 about a free sample kit with the clips, plugs and end caps used in the kits.
Hanging lights on your own house instead? See the DIY Christmas light kit guide.

Author: ChristmasPlug Team
The ChristmasPlug team: Christmas light installers with nine years in the trade.