The complete playbook for professional Christmas light installers: measure, design, price, install, service and take down every job the right way.
The question every new installer asks: “What do I charge per foot?”
Stop right there. If price per foot is the only number you think about, you will never compete with the established companies in your market. Per-foot pricing is a starting point, not a business model.
Instead, build every Christmas light estimate around these factors:
- Job price vs. material cost. Know what the materials actually cost you before you quote.
- Equipment. Orchard ladders, extension ladders, multi-position ladders, lifts and other rentals, hook ladders, pitch hoppers, roof boots and hand tools.
- Location. How far the job is from you and from your other installs.
- Your crew’s real speed. A seasoned crew might wrap 16,800 lights in a tree in five hours. Yours may take twice as long, or it may be cheaper to rent a lift and spend extra days on site. Price for your crew, not someone else’s.
- The customer. How demanding is the client, and what level of service are you promising?
- Selling vs. leasing materials. Pick one model and stick with it. If you can absorb the upfront cost, leasing is usually more profitable and keeps you competitive long term.
- Removal and in-season service. Takedown is roughly a fifth of the install time, but you still have to drive there.
- Sales commission. Would you sell for another company on commission only? Of course not. You have about two months of peak demand to earn a full year of income, so pay yourself a salary and a commission.
- Indirect costs. Trucks, fuel, warehouse or storage space, taxes, workers’ comp and insurance.
The short answer: you can be profitable starting around $5 per foot, but only if your systems are tight.

Christmas light installation can be one of the most profitable seasonal services around, but doing it professionally takes far more than hanging bulbs on a roof. You need to measure properties, calculate materials, design displays, price jobs correctly, install efficiently, manage electrical loads, service displays all season, then remove and organize everything for next year.
Whether you are launching your first Christmas light business or tightening up an existing one, this guide walks through the whole process from the first estimate to the last takedown.
Measure and estimate jobs with the Christmas Light Estimator
How professional Christmas light installation works
Most professional installs break down into the same stages:
- Measure and evaluate the property, on site or remotely.
- Design the display together with the customer.
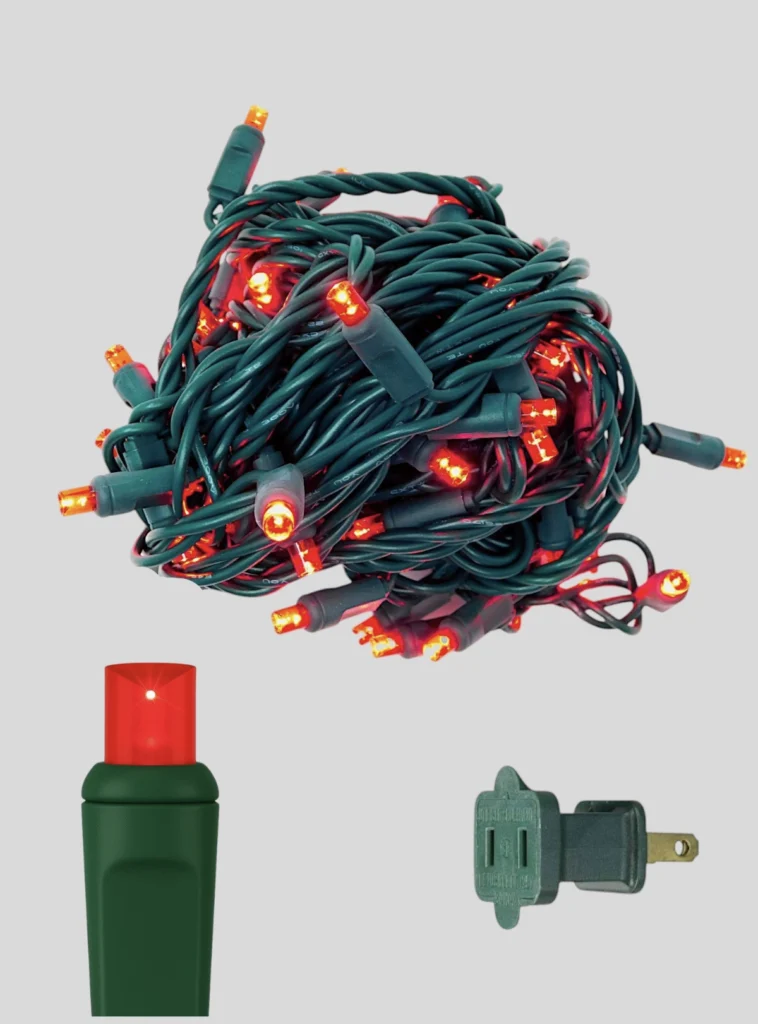
- List the materials and price your cost using a wholesale Christmas light store.
- Calculate labor and difficulty based on what your crew can do, not what competitors charge.
- Send the estimate fast, ideally within 24 to 48 hours. Tell the client when to expect it, then keep your word.
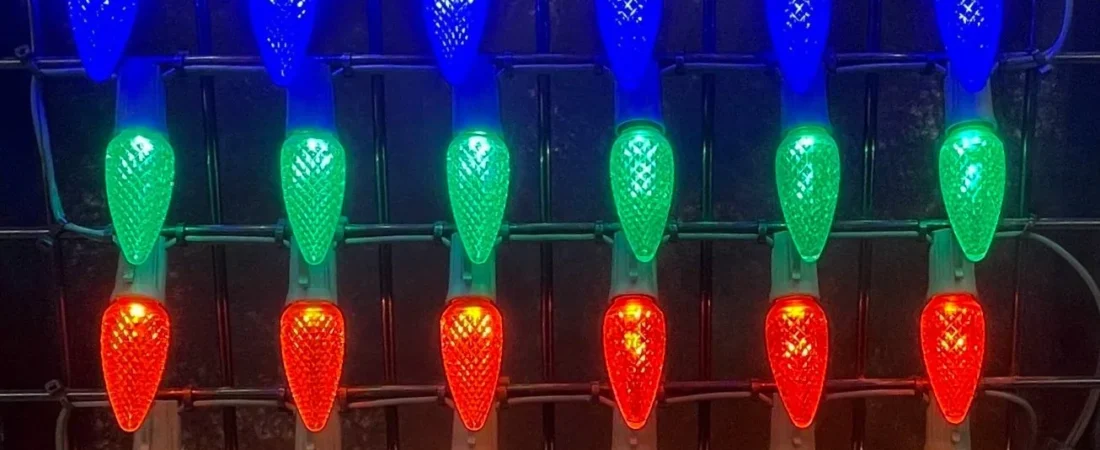
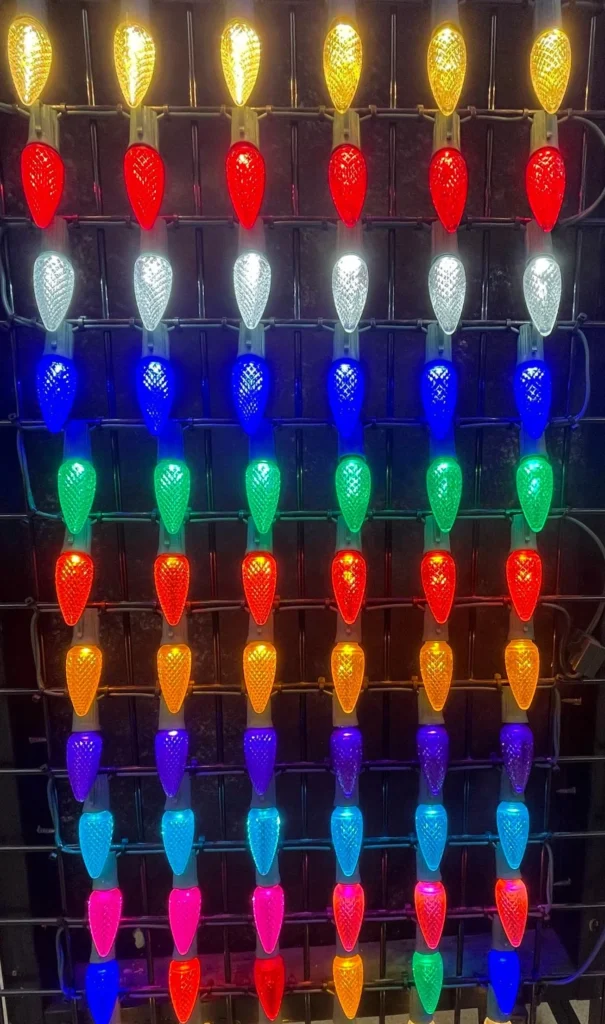
- Prep the lights ahead of time. Sit down, grab a drink and start twisting C9 bulbs into socket wire.
- Install and test the whole display before you leave the property.
- Service the display during the season at no extra charge.
- Remove the display. Give every customer a takedown window and plan your removal routes in December.
- Organize and store everything for next season.
A word on leasing: if you lease lights, make it very clear on every quote that the materials are not for sale, and build that cost into your price. If customers own the lights, you do not have much of a business that anyone would pay more than lead cost for.
A repeatable system for each stage makes estimates more accurate and keeps crews productive.
Try a free Christmas light pricing tool

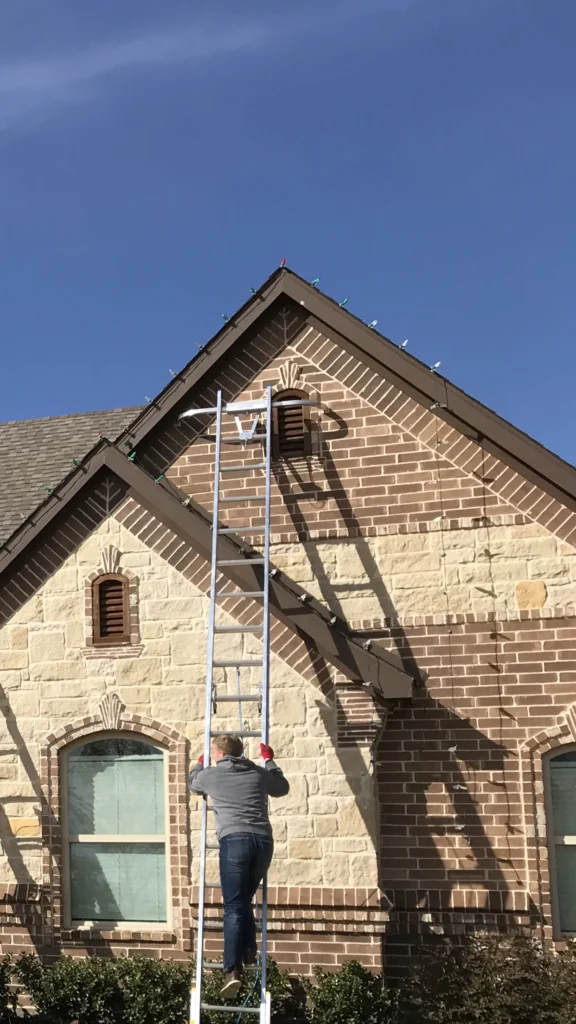
Step 1: Measure the property
Accurate measurements are the foundation of every good estimate. A C9 roofline install can include:
- Gutters and eaves
- Peaks and gables
- Dormers
- Hips and ridges
- Garage doors
- Windows and doorways
You may also need numbers for landscaping, trees, shrubs, walkways, fences and anything else in the design. One small mistake may not matter, but small mistakes across a whole property add up to wrong material counts, extra labor and lost profit.
Need a refresher? See how to measure a roofline for Christmas lights.
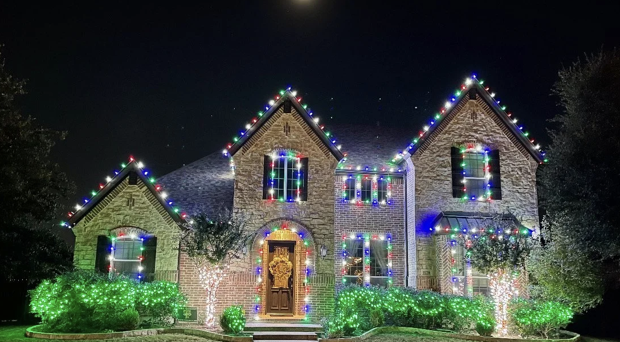
Measuring Christmas lights from a photo
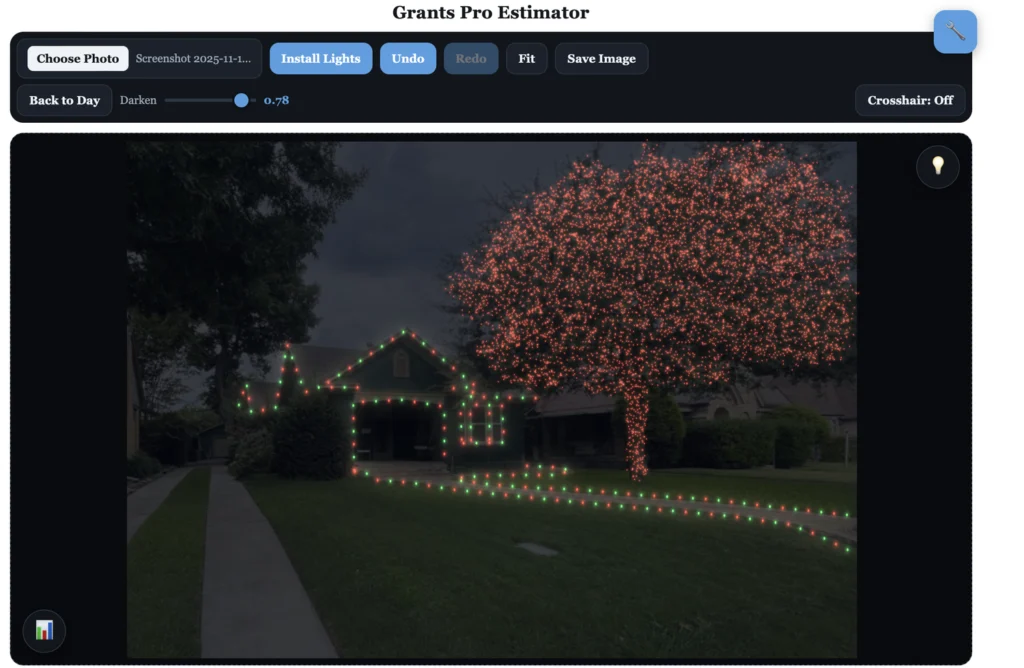
Modern estimating tools speed this up a lot. Instead of driving out to tape every roof edge, you can take a photo of the house, set one known measurement for scale and measure each section digitally. That is a big advantage when you need to answer new leads quickly.
Try free Christmas light estimating software
Step 2: Design the display
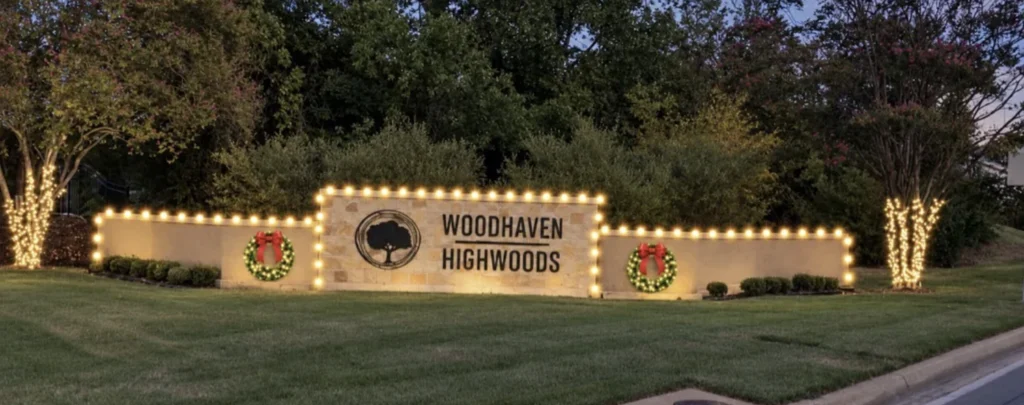
Once you know the dimensions, decide what the finished display will include. Common elements of professional Christmas light installs:
- C9 lights on rooflines and around windows, garage doors, arches and trim.
- C7 lights, most popular in trees, though some companies use them on roofs.
- Mini lights on pillars, columns, trees, bushes and full light walls.
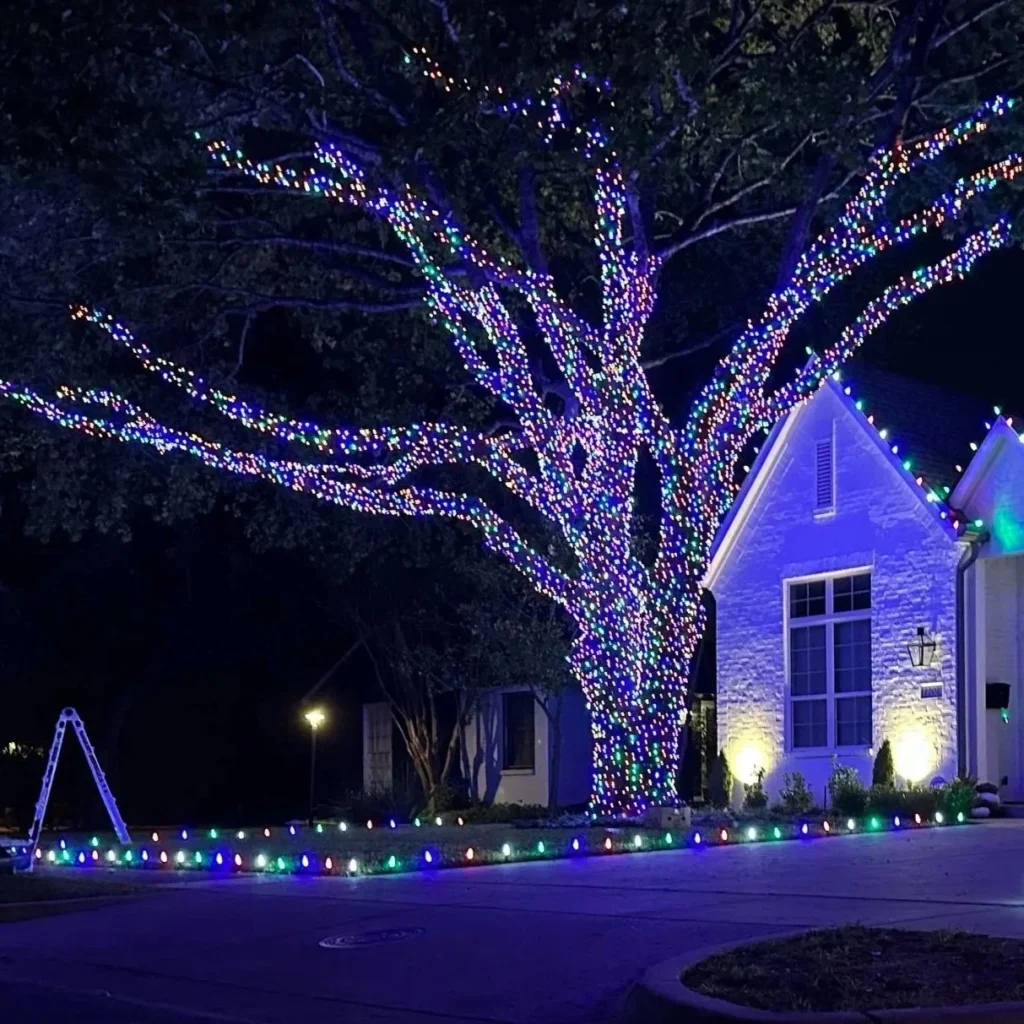
- Wrapped trunks and branches using 5mm or G12 mini lights. Brown wire on trees looks more natural and sets your work apart.
- Wrapped columns using white-wire mini lights.
- Shrubs with green-wire mini lights in an S pattern for a natural look, or net lights when speed matters.
- Wreaths, lit or unlit greenery for an elegant look. A canvas or nylon bow in red or white with gold trim adds flair, and extra strands and ornaments make a great upsell on large homes.
- Garland, lit or unlit, for railings, wrought iron fences, HOA signs and business entrances.
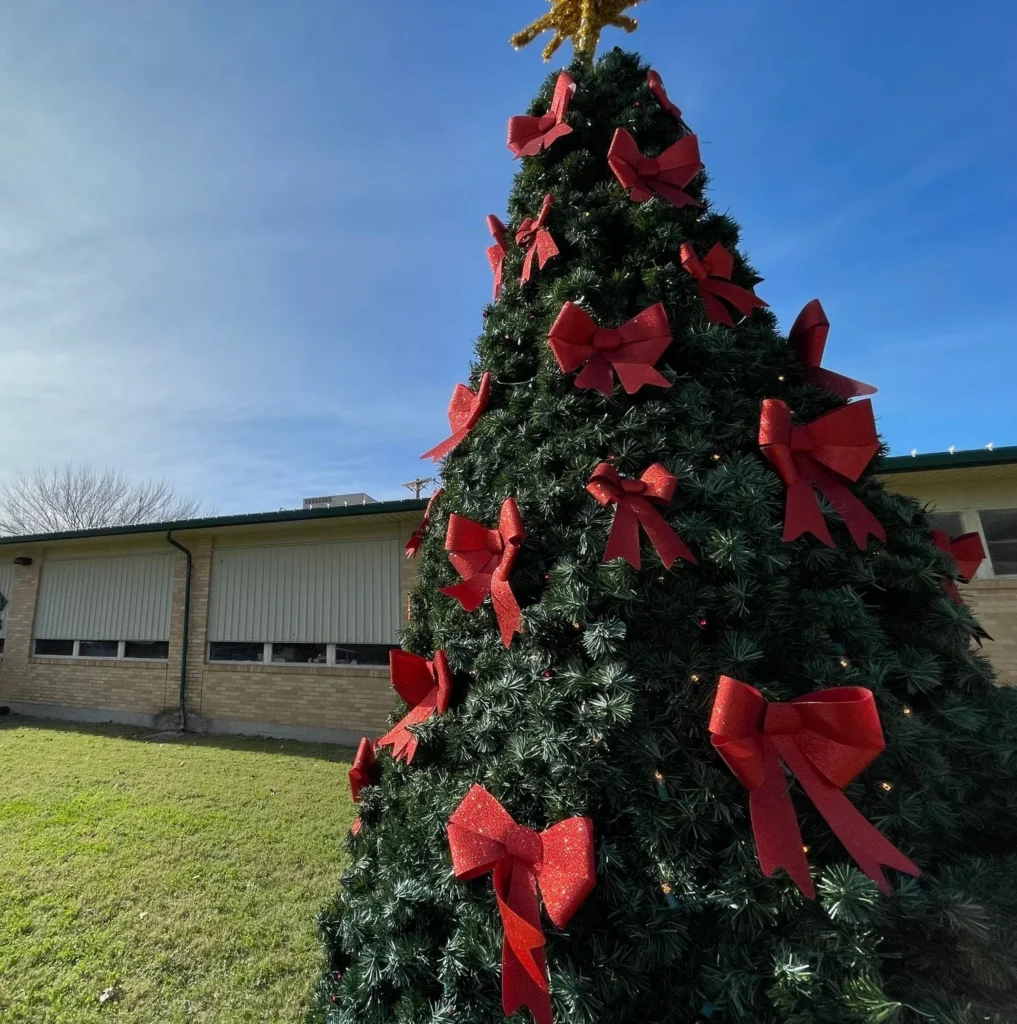
- Bows in canvas or nylon. They stay full, hold up in the wind and look far better than cheap velvet bows from big-box stores.
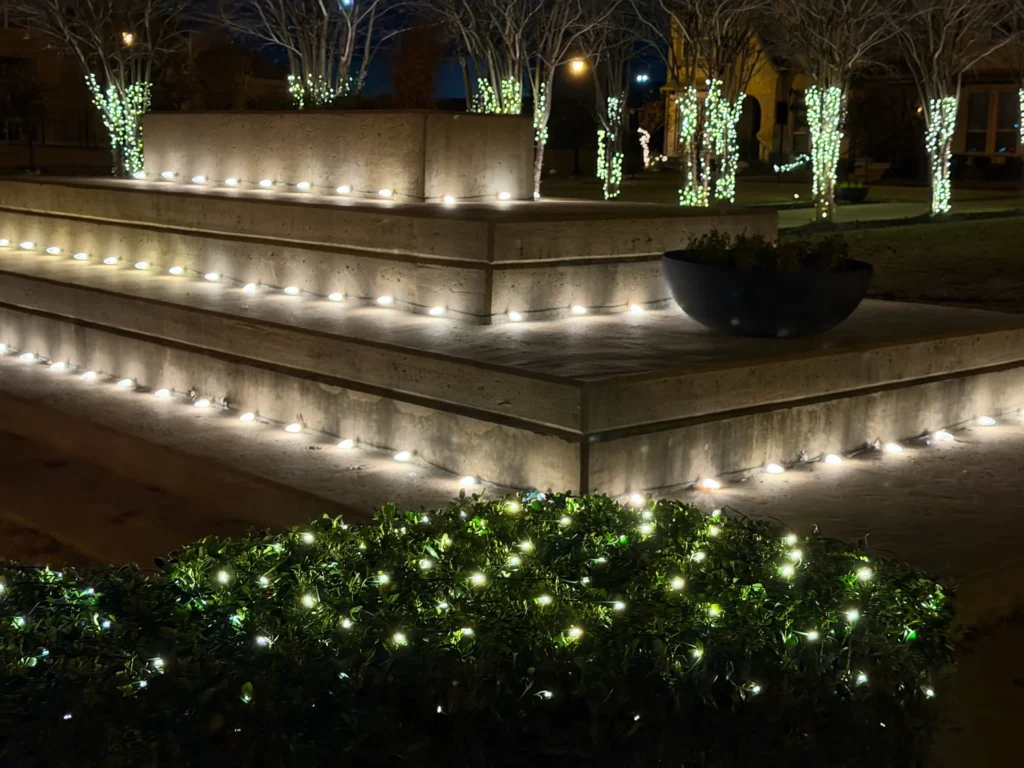
- Walkway lighting on 4- to 7-inch stakes with termination caps on the ends, so bare wire never touches the ground and trips the customer’s GFCI. Fewer service calls means more profit.
- Ground lighting on 7- to 12-inch stakes for better visibility in garden beds and low-traffic areas.
- Commercial displays, which bring the most profit and keep crews busy because of their volume.
A design does not need to be complicated. For many homes, a clean roofline with even bulb spacing plus a few highlighted architectural or landscape features looks fantastic. For bigger projects, a visual mockup helps you and the customer agree on the plan before you climb a ladder. Looking for more ways to raise the ticket? See Christmas light upsells.
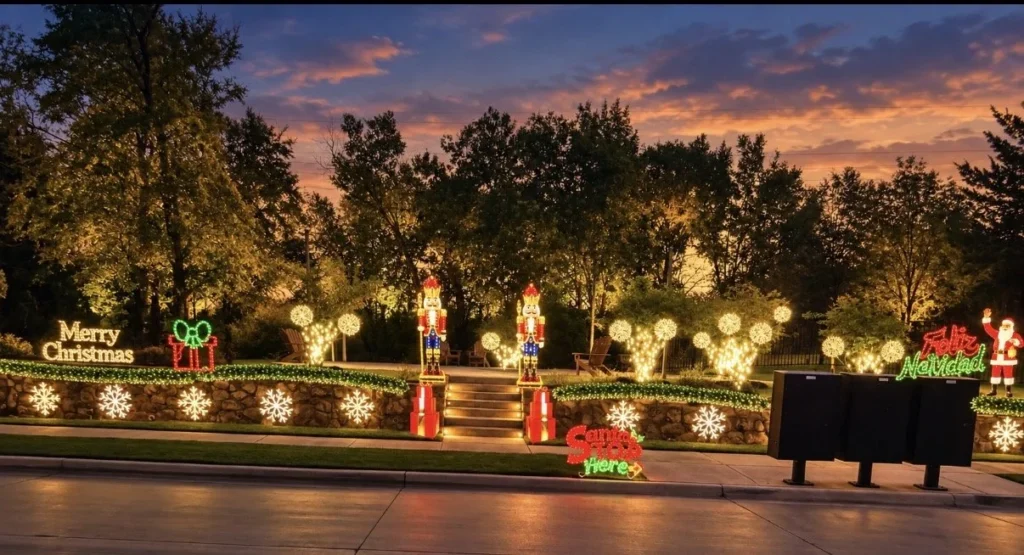
Step 3: Calculate lights and materials
A house with 200 feet of roofline does not mean you need only 200 feet of material. A real estimate includes everything required to build the display:
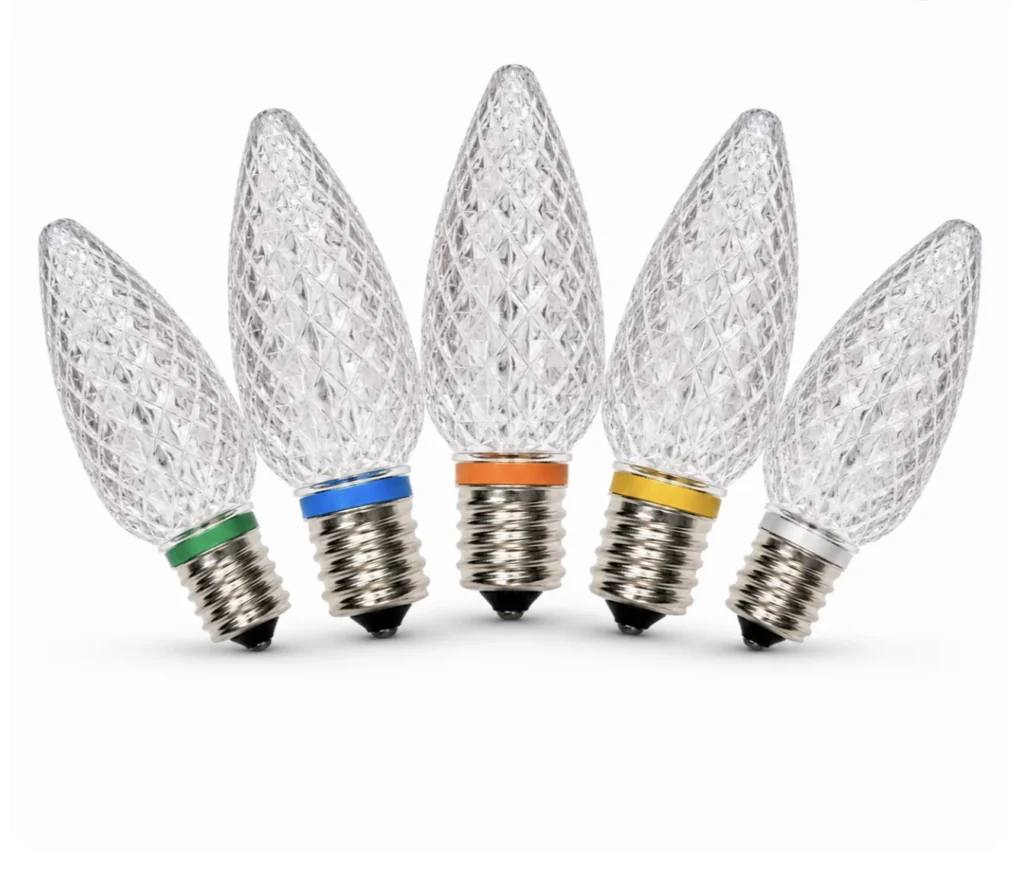
- C9 or C7 bulbs
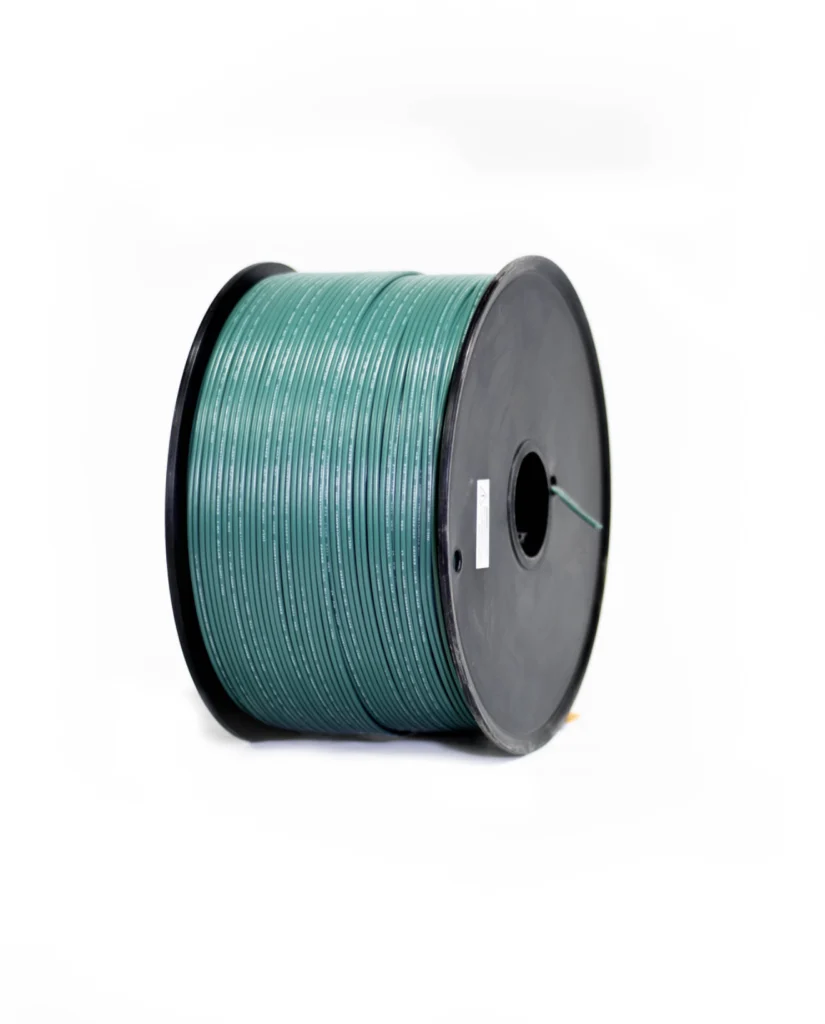
- Socket wire
- SPT-1 extension wire
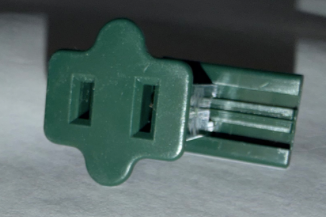
- Male and female plugs
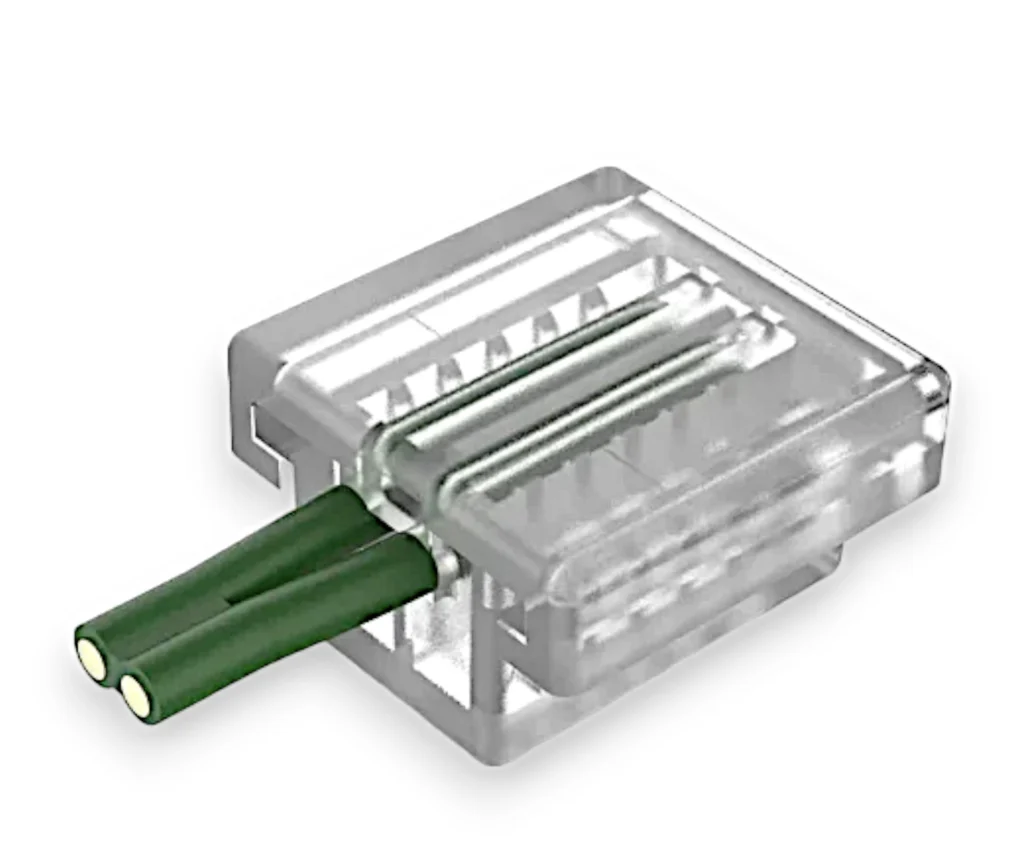
- Inline connectors
- Light clips
- Mini lights
- Extension cords and timers
- Wreaths and garland
- Mounting hardware
- Tree-wrapping materials
Bulb spacing changes your counts too. A 100-foot run at 12-inch spacing needs a different number of bulbs than the same run at 15-inch spacing. Use the C9 bulb calculator guide to get it right.
Free Christmas light profit and cost calculator



Step 4: Estimate labor and difficulty
Two houses with identical roofline footage can take completely different amounts of labor. Factor in:
- Roof height and pitch
- Number of peaks
- Roof access
- Landscaping
- Mounting surface
- Trees
- Equipment needed
- Design complexity
- Travel time
- Crew size
- Removal difficulty
A single-story gutter line goes up far faster than the same footage spread across steep peaks. That is why linear footage alone is a poor way to price. The goal is not just to count lights. It is to figure out what it will really take your company to finish the job profitably.


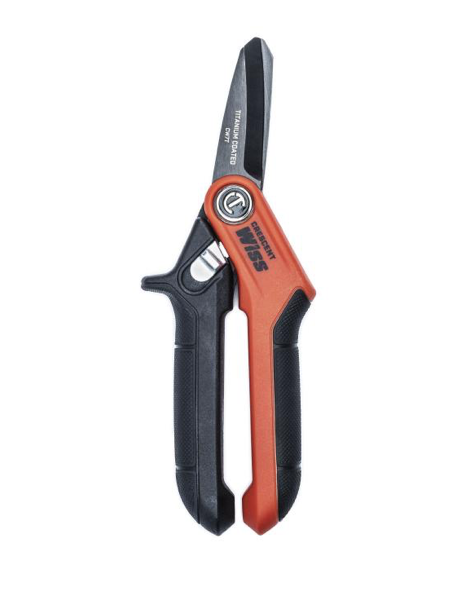
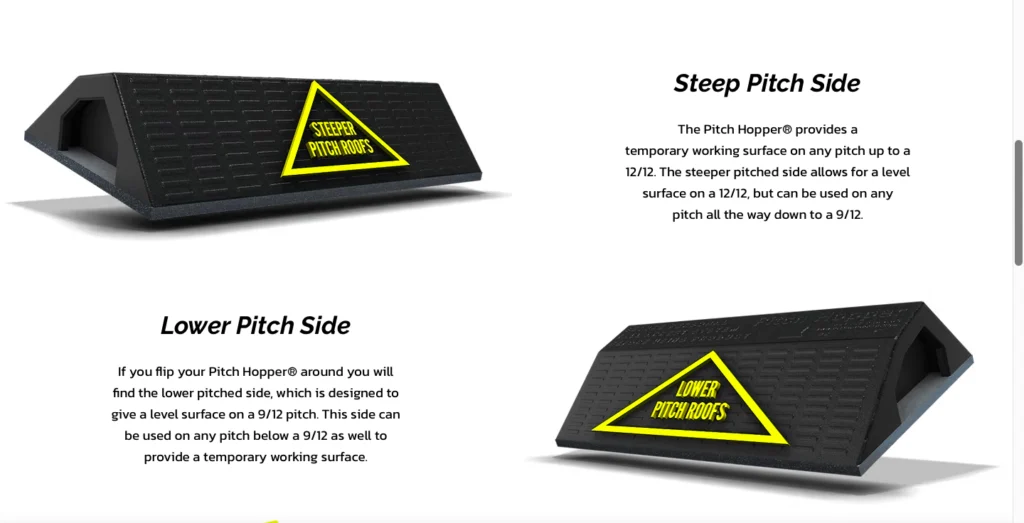
Building out your gear? See the installer tool kit by stage.
Step 5: Price the installation
There is no single right price for every Christmas light company. Your number depends on your market, business model, materials, labor, overhead, job difficulty and the margin you want.
Some contractors start from a per-foot rate; others build each estimate from materials, labor and job-specific costs. Either way, you need to understand what is behind your price. Your estimate may need to cover:
- Materials
- Installation and removal labor
- Service calls
- Equipment
- Transportation
- Storage
- Insurance
- Marketing
- Admin and payment processing
- Overhead
- Profit
A big invoice is not the same as a profitable job. Good estimating shows you both the selling price and the real cost to complete the work. For a deeper walkthrough, read how to bid Christmas light installation.
Step 6: Build the lights for the property
Professional C9 installs are usually built to fit the property instead of relying on fixed retail strand lengths. Custom socket wire gives you cleaner transitions and a tighter fit on every roof edge. Before install day, double-check:
- Bulb color and spacing
- Socket wire condition
- Connections
- Power locations and timers
- Extension runs
- Clips and mounting hardware
Test lights before they go up whenever you can. It is much easier to fix a problem on the ground than on a hard-to-reach section of roof.
Step 7: Install the roofline
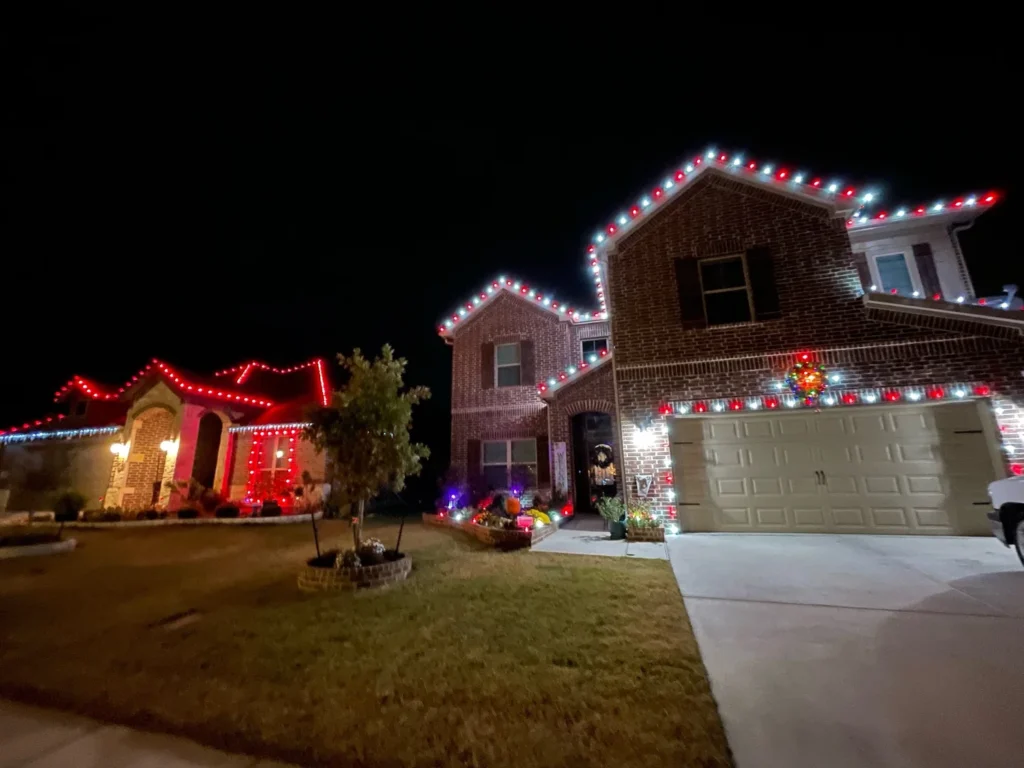
A professional roofline should look intentional by day and by night. Bulbs should face the same direction with consistent spacing, wire should be tidy, and extension runs should be planned, not improvised. The right attachment depends on the surface. Installers regularly work on:
- Gutters
- Asphalt shingles
- Drip edge
- Metal
- Brick and concrete
- Wood
- Commercial building surfaces
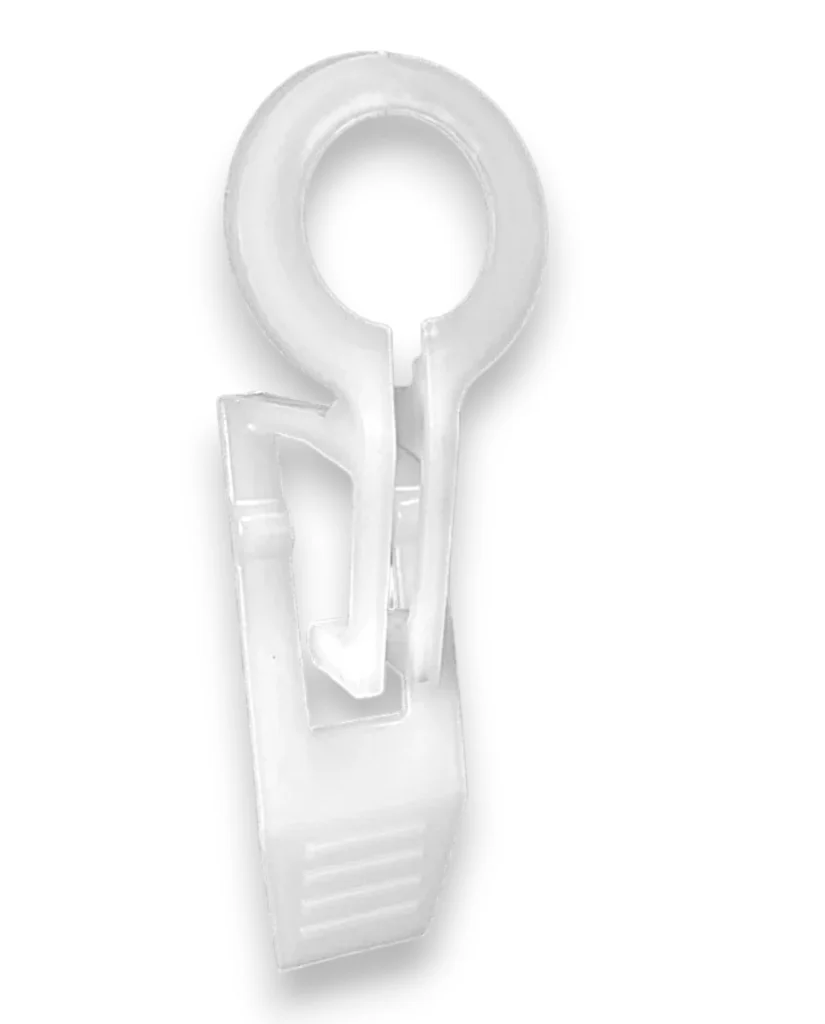
Always use attachment products made for that surface and lighting system. Our Christmas light clips guide covers the options, and how to hang C9 lights on a roofline walks through the install.
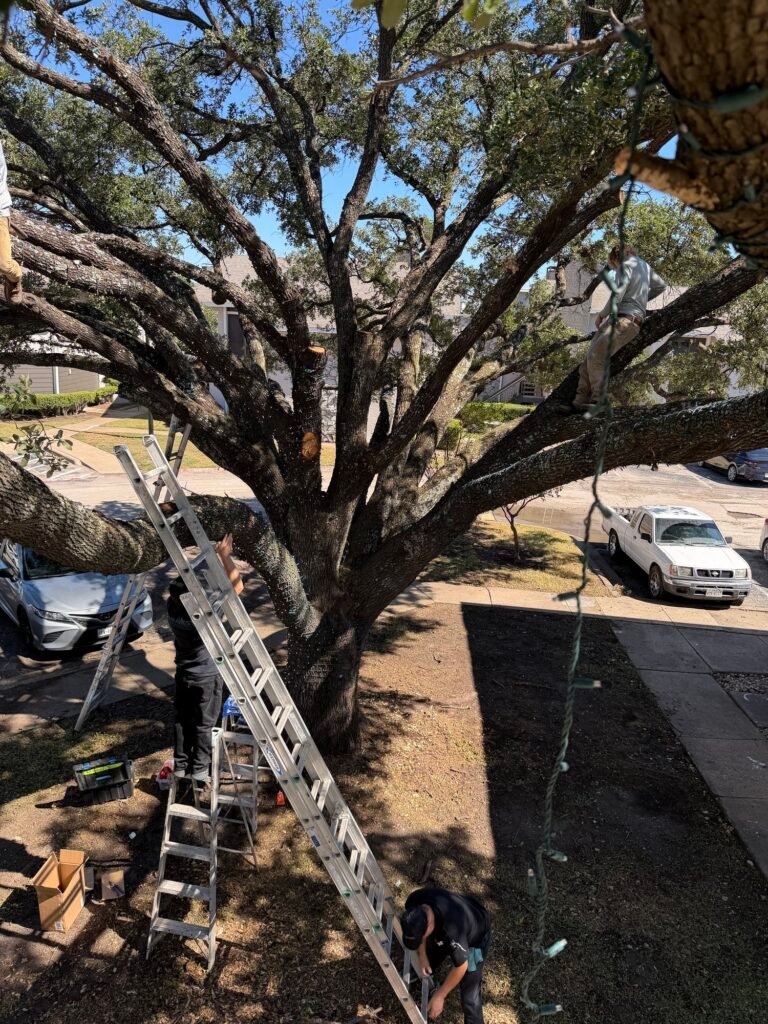
Safety always comes before speed. Check roof conditions, weather, electrical hazards, ladders, lifts, equipment and fall risks before and during every install.
Step 8: Wrap trees
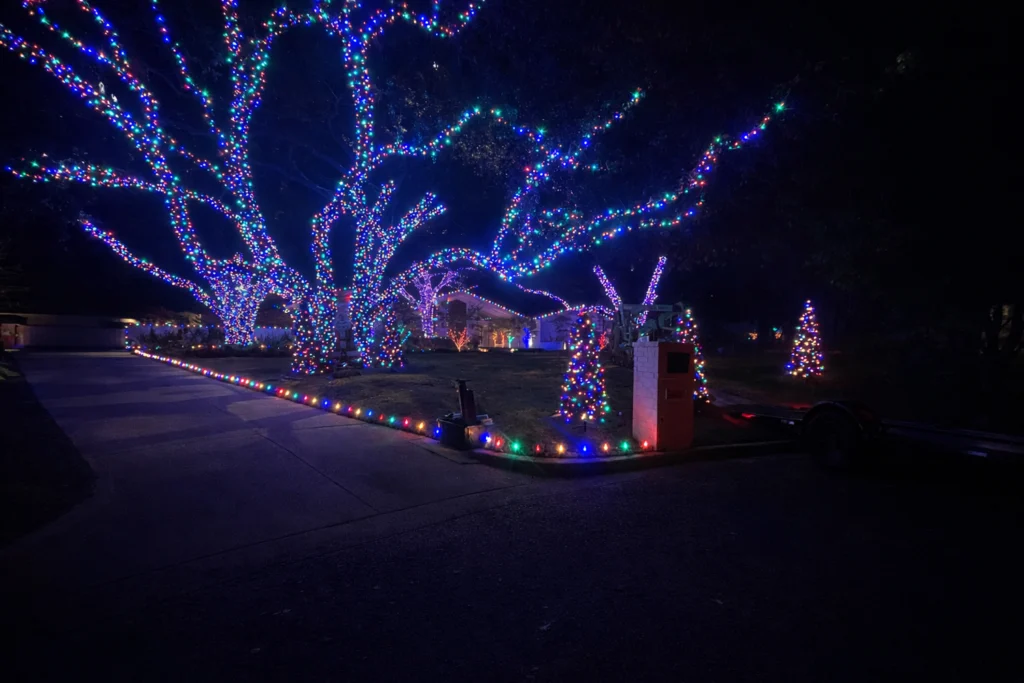
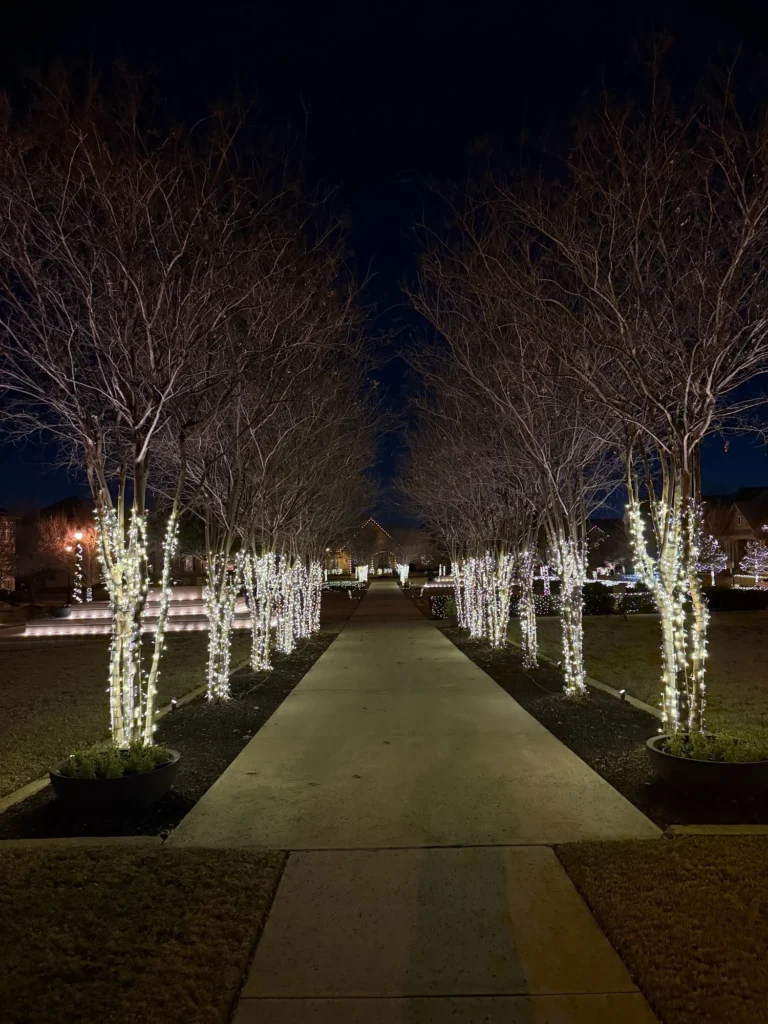
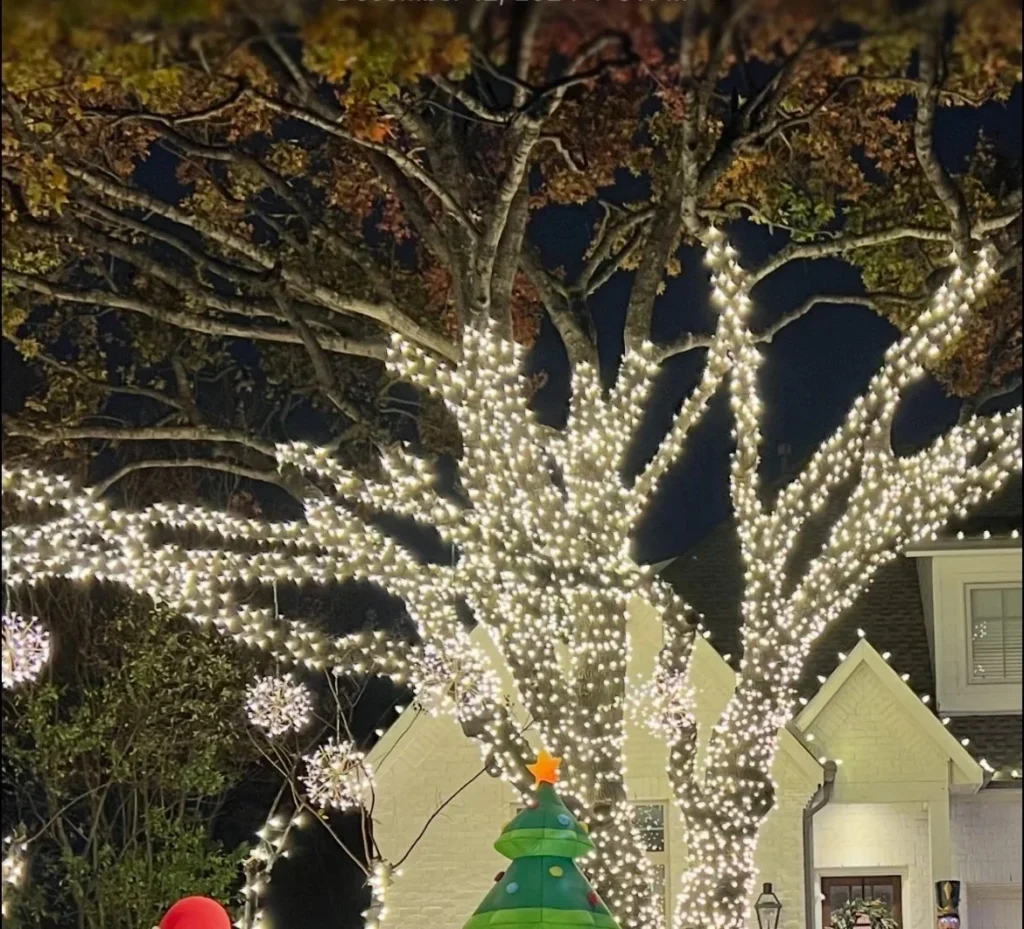
Tree wrapping is where estimating experience really pays off. Unlike a straight roofline, a tree is an irregular 3D shape, and the lights it needs can swing widely based on:
- Trunk circumference
- Height of the wrapped section
- Wrap spacing
- Number and diameter of branches
- How far out the branches are wrapped
- Desired density
A lightly wrapped trunk takes a fraction of the material and labor of a big tree with tightly wrapped trunks and major limbs. Estimate both before you give a price. See how many mini lights it takes to wrap a tree.

How to estimate tree wrapping: free tree calculator
Step 9: Understand electrical loads
Know the electrical requirements of everything you install. Key factors include:
- Voltage, wattage and amperage
- Number of light strings
- Manufacturer connection limits
- Circuit capacity
- GFCI protection
- Extension wire ratings
- Outdoor-rated connections
LED lights made big displays far more efficient than old incandescent setups, but you still need to plan power properly. Always follow applicable electrical requirements and the product specs. Related: how many Christmas lights per outlet and how to stop GFCI tripping.
Free Christmas light load calculator

Step 10: Test the whole display
The job is not finished just because every bulb is lit. Walk the property and look at it the way the customer will. Check:
- Bulb orientation and spacing
- Dark sections
- Loose clips
- Visible extension wire
- Timer operation
- Connections
- Wreath and garland placement
- Tree coverage
- Overall symmetry
Photograph every finished job you can. Great project photos become marketing for your website, social media, ads, future estimates and portfolio.
Step 11: Service calls
The job does not end on install day. Wind, weather, landscaping crews, animals, damaged parts and electrical issues can all cause problems mid-season. Set your service policy before things get busy, make sure customers know what is included and how to reach you, and keep organized job records so your crew can see how each display was built. For common fixes, see Christmas lights not working: common problems.
Step 12: Removal and storage
Plan for removal from day one. A smart takedown system protects your materials and cuts prep time next season. Keep each customer’s materials separated and labeled. Depending on your model, record:
- Customer name
- Installed sections
- Light color and bulb spacing
- Material quantities
- Special mounting needs
- Power locations
- Photos
- Install and removal notes
The better organized your takedown, the easier next year’s reinstall.
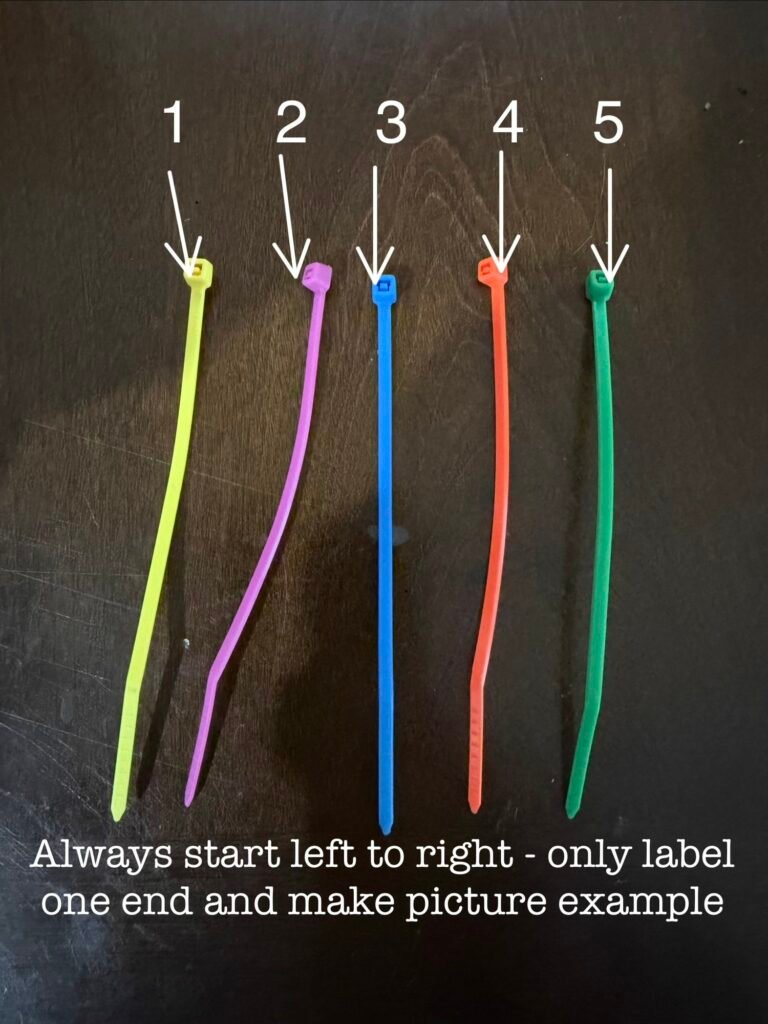
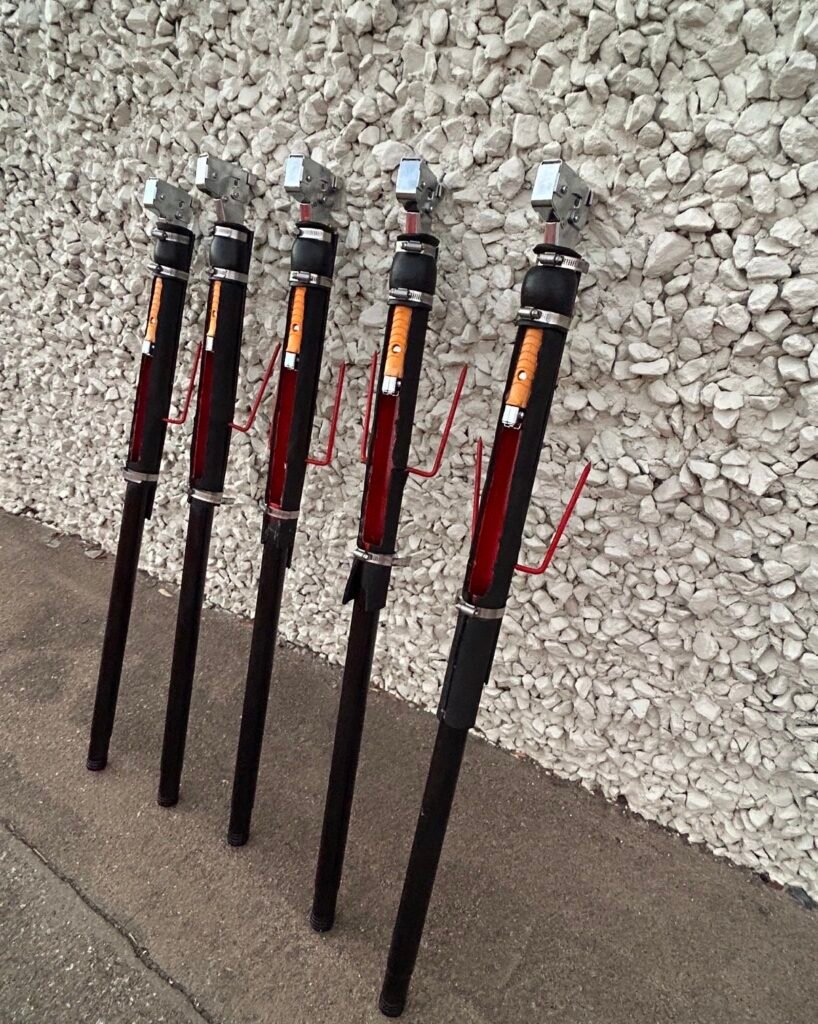
Christmas light installation tools and supplies
Your exact gear depends on the work you do, but a professional setup often includes:
- C9 bulbs and C9 socket wire
- Mini lights
- SPT-1 wire
- Male, female and inline plugs
- Christmas light clips
- Extension cords and timers
- Cutters
- Staplers where appropriate
- Installation poles
- Ladders and ladder accessories
- Fall protection suited to the work
- Testing equipment
- Storage bins and organization supplies
Professional-grade materials make customizing, repairing and reinstalling much easier than consumer light sets. Browse wholesale Christmas light products or check out a contractor starter kit.
Shop professional Christmas light supplies
Starting a Christmas light installation business
Christmas light installation works as a standalone seasonal business or as an add-on for landscaping, pressure washing, roofing, window cleaning and other home-service companies. Do not focus only on learning to hang lights. You also need systems for:
Lead generation → estimating → design → pricing → scheduling → installation → service → removal → storage → rebooking
The install itself is just one piece of a profitable operation. Need customers? List your company free on ChristmasPlug and read how to get more Christmas light jobs.
Estimate Christmas light jobs faster
Estimating is one of the biggest bottlenecks for a growing Christmas light company. Driving to every property just to measure footage burns valuable time in a short selling season. Digital estimating and design tools let you measure properties, lay out designs, calculate materials and build estimates before your crew ever shows up.
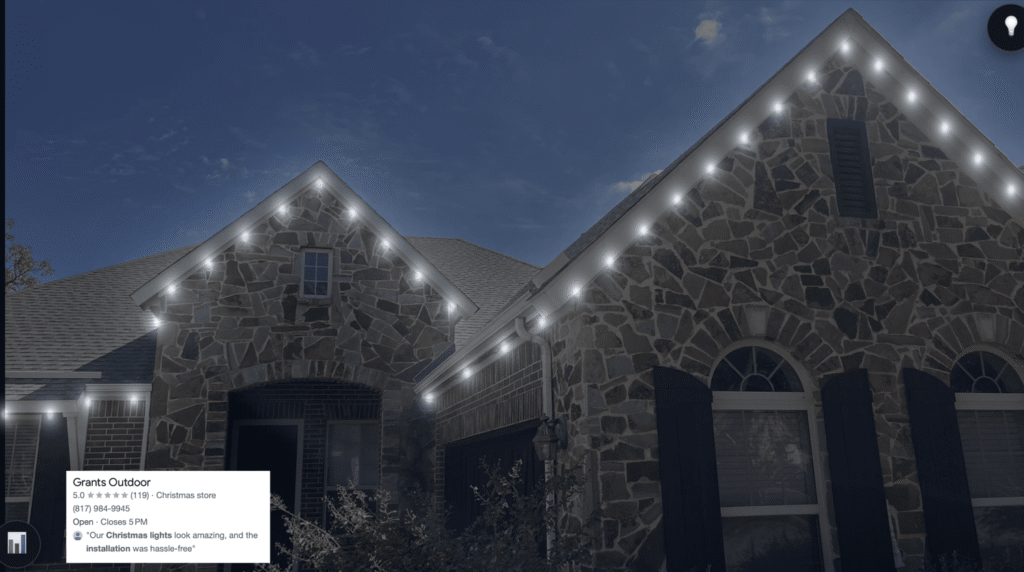
Try the Christmas Light Estimator
Christmas light installation FAQ
How do professionals measure houses for Christmas lights?
They measure on site, use property records, measure from photos using a known dimension for scale, or use Christmas light estimating software. The right method depends on the property and how accurate you need to be.
How do you estimate a Christmas light installation?
Define the design and measure the areas being lit. Calculate the lights, wire, clips, plugs and other materials. Then add installation difficulty, labor, equipment, removal, service, overhead and profit.
How much should a Christmas light installer charge?
There is no universal price. It varies by market, job complexity, materials, labor, service level and overhead. Know your real job costs instead of copying a competitor's price.
How do you calculate how many Christmas lights you need?
For rooflines, start with total footage and your bulb spacing. Trees need extra math because trunk size, height, branch structure and wrap spacing all change the amount of light required.
Is professional Christmas light installation profitable?
It can be. Profit depends on pricing, labor efficiency, material costs, how you get customers, overhead, service needs and how much work you complete in the short install season.
What lights do professional Christmas light installers use?
It varies, but most professional installs use commercial-grade C7 or C9 bulbs on socket wire for rooflines, LED mini lights for trees and landscaping, plus professional clips, plugs, extension wire, timers and mounting hardware.
Can Christmas light jobs be estimated from a photo?
Many can, as long as the photo shows enough and you can set a reliable dimension for scale. Photo-based measuring software makes this much faster, though unusual or complex properties may still need an on-site visit.
Build a better installation system
The fastest installer is not always the most successful one. Strong Christmas light companies build a repeatable process for measuring, designing, estimating, prepping, installing, servicing, removing and storing every job, and they keep improving it as they grow. Use the free calculators in this guide to plan your next project, or bring measuring, design, materials and pricing together in one place with Christmas light estimating software.

Author: ChristmasPlug Team
The ChristmasPlug team: Christmas light installers with nine years in the trade.